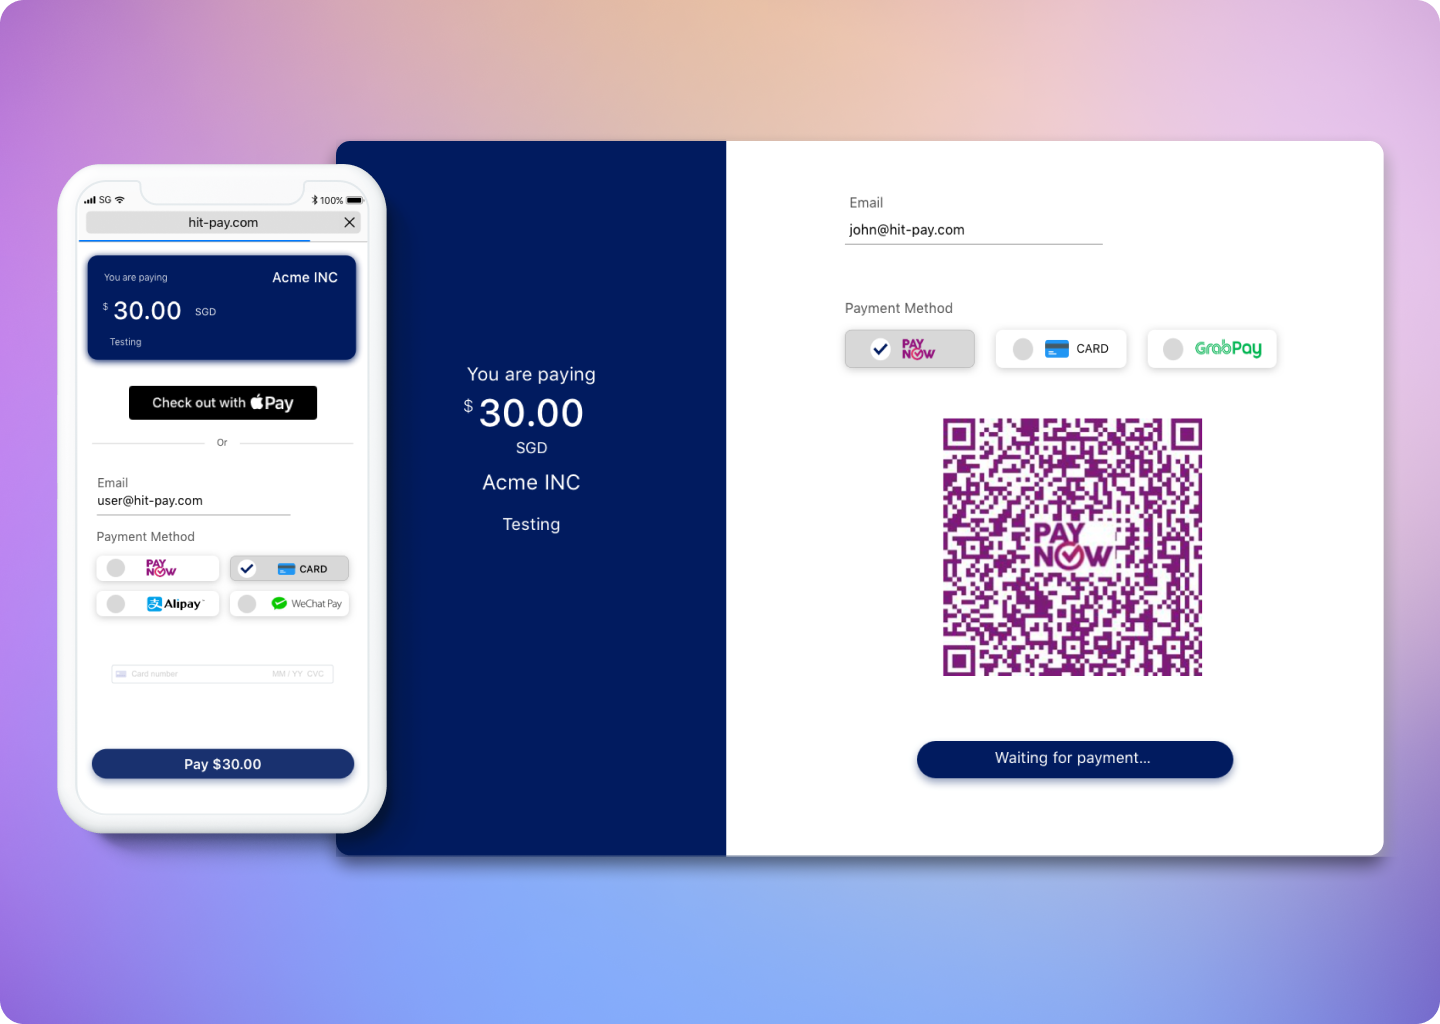
Core Concept
At a high level, integrating payments into your system involves a 3-step process:Create a Payment Request
The first step is to create a payment request in your system.
Present the Checkout Page
Once the payment request is ready, present the checkout page to the user.
Handle Webhooks
After the payment is processed, handle webhooks to receive payment notifications.
Authentication
Before integration, it’s essential to understand how Hitpay APIs are authenticated. Hitpay utilizes API keys to grant access to the API. You can locate this key in your dashboard under “API keys.” Hitpay requires the API key to be included in all API requests to the server. This key should be placed in a header that follows the format shown below:X-BUSINESS-API-KEY: meowmeowmeow
Step 1: Create Payment Request
This is the first step of the payment flow, once you have all the details from the user and are ready to collect payments, use this API to create a payment request. Since this is a server-to-server communication, if you have a mobile or Web client that communicates with your REST API, you must have a new endpoint E.g. /create-order, or reuse an existing endpoint. This endpoint will be responsible for making the payment request API call to hitpay.Endpoint
Request Parameters
Mandatory fields are
amount and currency. Remember to include header Content-Type: application/x-www-form-urlencoded| Parameter | Description | Example |
|---|---|---|
| amount | Amount related to the payment | 2500.00 |
| payment_methods[] | Choice of payment methods you want to offer the customer | paynow_online, card, wechat, alipay, grabpay, fave_duit, shopback, atome (Local Payment Methods) (Cross-border Payment Methods) |
| currency | Currency related to the payment | SGD |
| Buyer’s email | [email protected] | |
| purpose | Purpose of the Payment request | FIFA 16 |
| name | Buyer’s name | John Doe |
| reference_number | Arbitrary reference number that you can map to your internal reference number. This value cannot be edited by the customer | XXXX123 |
| redirect_url | URL where we redirect the user after a payment. Query arguments reference (payment request id) and status are sent along | https://example.com/callback |
| webhook | URL where our server does a POST request after a payment is completed | https://example.com/webhook |
| allow_repeated_payments | If set to true, multiple payments can be paid on a payment request link. Default value is false | false |
| expiry_date | Time after which the payment link will be expired (time in SGT). Applicable for repeated payments. Default is Null | 2021-02-02 01:01:01 |
Response
Step 2: Presenting the Checkout UI
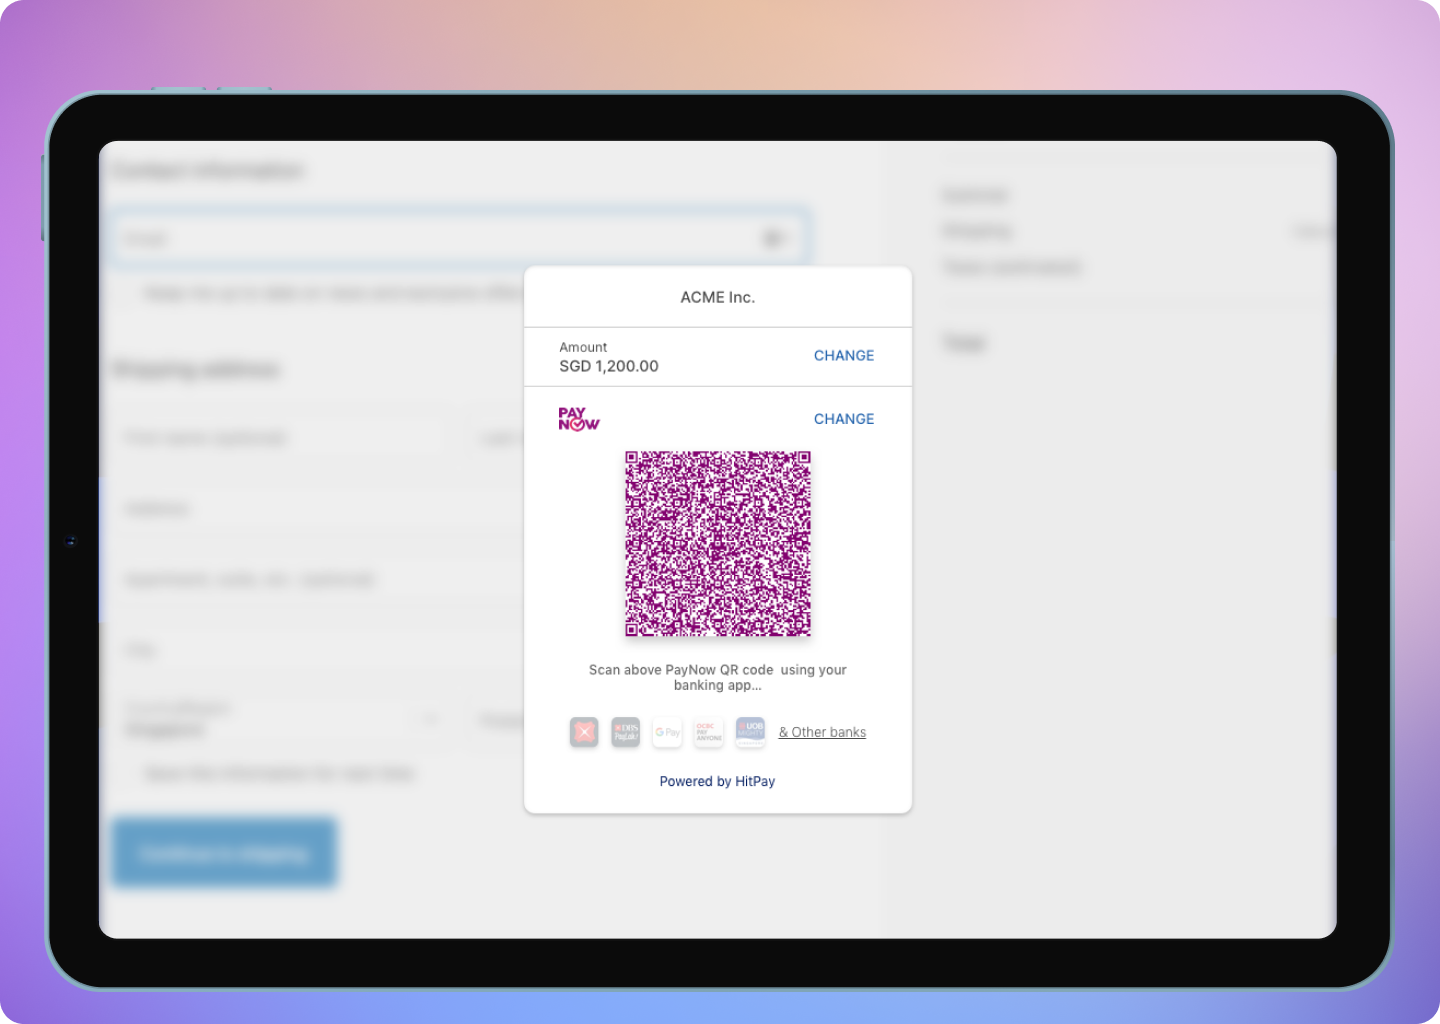
After the payment request is completed, your server must return thepayment_request_id and URL values to the client. There are 2 ways to present the checkout UI: “Redirect to HitPay checkout” or “Present Drop-In UI.”
- Option 1: Redirect to HitPay Checkout
- Option 2: Present the Drop-In UI
Navigate your user to the URL, and HitPay will take care of the rest of the flow. Once the payment is completed, the user will be navigated back to the “redirect_url” that was configured during the payment request step, along with the status.

Step 3: Handle Successful payment
Once the payment is completed, the user will be redirected to “redirect_url” defined in step 1.What is a Webhook?
Webhook is a POST request sent from HitPay’s server to your server about the payment confirmation. If you are using hitpay APIs to integrate into your e-commerce checkout you must mark your order as paid ONLY after the webhook is received and validated.Handling the webhook
- Create an endpoint (E.g. /payment-confirmation/webhook) in your server that accepts POST requests. This request is application/x-www-form-urlencoded.
- Validate the webhook data using your salt value
- Return HTTP status code 200 to Hitpay
- Mark your order as paid
- Sample webhook payload data
Sample Webhook Payload
| Parameter | Description | |
|---|---|---|
| payment_id | Payment ID | |
| payment_request_id | Payment request ID | |
| phone | Buyer’s phone number | |
| amount | Amount related to the payment | |
| currency | Currency related to the payment | |
| status | Payment status (completed / failed) | |
| reference_number | Arbitrary reference number mapped during payment request creation | |
| hmac | Message Authentication code of this webhook request |
Validating a Webhook
To validate a webhook payload from HitPay, follow these steps:- Payload Extraction: Extract the key-value pairs from the webhook payload. For example:
- Exclude HMAC and Values: Remove the "hmac" key and its corresponding value from the extracted payload. For example:
- Concatenation and Sorting: Concatenate the keys and values from the remaining key-value pairs without using "&" and "=", and arrange them in alphabetical order of the keys. For example:
- Signature Generation: Use the HMAC-SHA256 algorithm along with the secret salt from your dashboard to generate a signature for the concatenated string. This signature will be unique to this payload.
- Comparison and Validation: Compare the generated signature with the HMAC value present in the original payload, both values must match.
Native QR Code
The Native QR Code feature enables the generation of QR codes that can be scanned using various banking apps, facilitating a seamless payment experience for users. This functionality is particularly beneficial for mobile-based transactions where users can easily scan a code to initiate payments. Additionally, the use of native QR codes allows for embedding payment options directly into various customer-facing materials without the need for redirecting users through a payment request URL (Hosted Checkout), simplifying the payment process significantly. Specifypaynow_online as the payment method, set generate_qr to true, and manage expiration settings if needed. The response will include a qr_code_data object, which contains the data to be converted into a scannable QR code (qr_code).
Example Response for Native QR Code Payment Request
Example Response for Native QR Code Payment Request
FAQs
Webhook Signature Mismatch?
Webhook Signature Mismatch?
Possible reasons for wrong hmac value generated
- Ensure that you are using the correct salt value from the correct environment (Sandbox or Production)
- Make sure NOT to include the hamc value when calculating the hmac
- Make sure all the values stated above are included in the payload including reference_number. Use an empty string if the value does not exist
Facing Invalid Business API Key Error
Facing Invalid Business API Key Error
Possible reasons for this error:
- You are using a production key in the sandbox or a sandbox key in production. Make sure the API base URL is correct.
- You are missing headers. Ensure that you include both the ‘Content-Type’ and ‘X-Requested-With’ headers. Refer to this section again.
Product Checklist
Product Checklist
Ensure the following before moving to production
- Change the base URL for all API calls to https://api.hit-pay.com/v1/
- Finish paynow and other payment methods set up in production
- Update API keys and Salt values from the production dashboard
- If you are using Drop-In UI, update the default link to the production URL
API Rate Limits
API Rate Limits
HitPay enforces the following rate limits to ensure optimal performance and prevent abuse:
- General API Rate Limit: 400 requests per minute across all endpoints
- Payment Request Endpoint: 70 requests per minute (additional limit to prevent payment request misuse)
Why does my charges `webhook status` show as failed?
Why does my charges `webhook status` show as failed?
If you are using a payment plugin, after every successful payment, a webhook is sent to your store to acknowledge the payment confirmation. Your order is marked as paid through this webhook.A webhook status showing as "failed" indicates that Hitpay failed to communicate with your server. This can happen for the following reasons:
- Your store may have a security feature that blocked Hitpay's request.
- Your server was unavailable during this time.
- Production:
3.1.13.32,52.77.254.34 - Sandbox:
54.179.156.147
