Documentation Index
Fetch the complete documentation index at: https://docs.hitpayapp.com/llms.txt
Use this file to discover all available pages before exploring further.
Overview
Manage your cashflows and get paid faster with HitPay’s online invoicing generator. Our free invoicing software supports all payment methods from HitPay, including credit cards, PayNow, Grab, and many more!Creating an Invoice
- Navigate to Invoicing from the left menu and click on the Create Invoice button.
- Fill in your currency details, amount, and invoice number. Then, click on Create Invoice to generate the invoice.
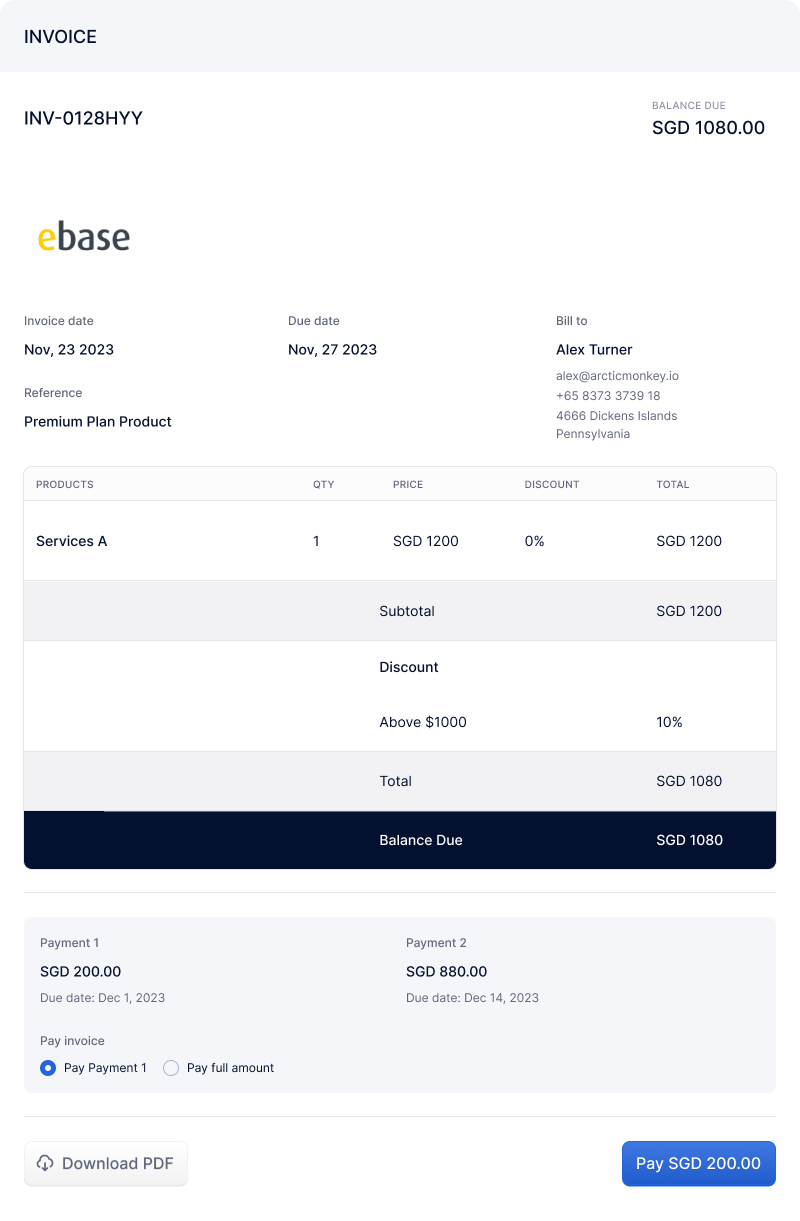
Optional: You can split up your total invoice amount and set a due date for each partial payment. This is especially useful if you are delivering a product or service that will be fulfilled over a period of time. To enable this option, just check the box on Allow partial payments.
- Once you’ve created an invoice and selected the option “Send invoice email to the customer,” HitPay will automatically send the invoice email to your customer’s email address. The invoice’s status will change to Pending. The email contains the link to payment and a PDF of the invoice.
Editing Invoices
You can edit invoices even after partial or full payments have been made. All invoices display Balance Due (Total Amount minus Amount Paid) and Amount Paid (shown only if a payment has been received).Editable Invoice Statuses
| Status | Editable | Notes |
|---|---|---|
| Draft | Yes | Fully editable |
| Sent | Yes | All fields can be modified |
| Overdue | Yes | Remains Overdue unless due date is extended |
| Partially Paid | Yes (with conditions) | Only unpaid portion can be edited |
| Paid | Yes (with conditions) | Total cannot be lower than amount paid |
| Void / Deleted | No | Not editable |
Editing Rules for Paid Invoices
When editing a partially paid or fully paid invoice:- Already paid amounts cannot be modified.
- Unpaid partial payments can be edited or canceled.
- Invoice total cannot be lower than the amount already received.
Editing a Paid Invoice with a Higher Amount
When you increase the total on a paid invoice:- Allow partial payment is automatically enabled.
- A new payment row is created for the remaining balance:
- Payment 1: Shows the original paid amount (read-only) with a “Paid on [date]” indicator.
- Payment 2: Shows the new balance due, which you can edit.
Sending Payment Reminders to Customers
You can save time on chasing overdue payments by sending payment reminders with just a click. The invoicing tool allows you to trigger three types of reminders for your customers:- Resending Pending Invoices:
- Manually Sending a Reminder for Overdue Invoices:
- Automatically Scheduled Reminders:
Accessing Invoice Settings:
- Click on Invoicing.
- Click on the gear icon.
- Select the Settings option, which opens a popup modal.
Settings Modal:
- Invoice Title Customisation:
- Select the invoice title from a dropdown menu with options “Invoice” or “Tax Invoice”.
- Tax Registration Number:
- Enter your tax registration number to be displayed on all invoices.
- Description:
- Enter the description that will appear on every new invoice.
- Footer:
- Enter the footer that will appear on every new invoice.
- Late Fee:
- Enable/Disable Late Fee: Toggle this setting to enable or disable late fees by default on all new invoices.
- Type of Late Fee: Select whether the late fee will be a fixed amount, a percentage of the invoice total, or a percentage of the outstanding balance.
- Late Fee Amount/Percentage: Enter the amount or percentage to apply as a late fee.
- Grace Period: Set the number of days after the invoice due date before the late fee is applied.
Late Fee Settings
To help manage overdue payments, HitPay’s Late Fee feature enables you to apply late fees automatically to overdue invoices. You can configure parameters such as the fee amount, type (fixed or percentage), and a grace period before the late fee applies. This feature streamlines cash flow management and encourages timely payments.Enabling Late Fee on an Invoice
- Navigate to the Invoice: Open the invoice where you want to apply a late fee or create a new invoice.
- Go the Late Fee Section: Scroll to the Late Fee section on the invoice.
- Configure the Late Fee:
- Type of Late Fee: Choose if the fee is a fixed amount, a percentage of the invoice total, or a percentage of the outstanding balance.
- Late Fee Amount/Percentage: Enter the specific amount or percentage.
- Grace Period: Set the number of days after the due date before the late fee is applied.
- Save Settings:
- You can choose to save this configuration for future invoices by selecting “Save late fee settings to future invoices.”
- Apply the Late Fee: Save and apply the configured late fee to the invoice. If payment is overdue beyond the grace period, the fee will automatically apply.
Automatic Late Fee Application
- Once the late fee is configured, HitPay monitors the payment status. If an invoice is unpaid after the due date and grace period, the late fee is added as a line item.
How Late Fees are Calculated
- Fixed Amount: Adds a specific amount to the overdue invoice.
- Percentage of Invoice Total: Applies the percentage to the full invoice total, regardless of any payments made.
- Percentage of Outstanding Balance: Applies the percentage to the unpaid balance.
Custom Fields
Add custom fields to invoices for tracking additional information like Salesperson, Project Code, or PO Number. You can create up to 3 custom fields per business and choose whether each field is visible to customers or kept internal.Setting Up Custom Fields
- Go to Invoicing > Settings and click on to the Custom Fields section.
- Click Add Additional Field and configure:
- Field Type: Text, Long Text, Dropdown, Checkbox, or Radio
- Field Label: The name displayed on the invoice (e.g., “PO Number”)
- Options: For Dropdown, Radio, and Checkbox types, define the available choices
- Mark as Required: When enabled, this field must be filled before the invoice can be saved or sent
- Show on Customer Invoice: When enabled, this field appears on the customer’s invoice and PDF. Turn off to keep it internal.
Using Custom Fields on Invoices
When creating or editing an invoice, your custom fields appear with inputs matching their configured type. Required fields must be completed before saving or sending.- Fields marked as Show on Customer Invoice will appear on the invoice PDF and customer-facing view.
- Fields kept internal are only visible to you in the dashboard.
Custom Fields in Repeating Invoices
Custom fields also apply to Repeating Invoices:- Set default values for each field on the template.
- Required fields must be filled before the template can be saved.
- When a repeating invoice generates a new invoice, custom field values are copied over.
Exporting Invoices with Custom Fields
When exporting invoices to CSV, each custom field appears as a separate column using its label. Both visible and internal field values are included in the export.Adding a Cash Payment
With the Add Payment feature, you can record cash payments for your invoices, enhancing your ability to manage and track offline payments.Recording a Payment
- Navigation: Within the Invoices section, under All Invoices, click the three dots icon next to the desired invoice. Select the Add Payment option. This option is also available directly on the individual invoice page for invoices with statuses: sent, pending, overdue, or partially paid.
Add Payment Popup
- Customer Name / Balance Due: This information will be displayed as read-only, so you can easily reference the customer and the outstanding balance.
- Payment Options: Available only for invoices that allow partial payments. You can choose from:
- Specific Partial Payment: This option allows you to record a specific partial payment, labeled as “Payment 1” or subsequent pending payment numbers.
- Full Payment: This option is selectable only if there are multiple partial payments pending, allowing you to mark the invoice as fully paid.
- Amount: The amount field will be displayed as read-only and will automatically populate based on the selected payment option or the full amount for invoices that do not allow partial payments.
- Payment Date: You can record the date when the payment was received, with the flexibility to enter both past and future dates.
Viewing the Payment
All payments you record will be displayed in the same manner as payments made using cards and other methods. These records are visible in three specific locations:- Invoice Payment Details Section: Provides a detailed view of all recorded payments for the invoice.
- Public Invoice: Shows payment records to customers when they view their invoice online.
- Transactions Page: Payments will be displayed as cash transactions.
Creating Invoices in Bulk
You can save even more time by using the bulk invoice generator. This feature allows you to add invoices in bulk instead of creating invoices individually.- Navigate to Invoicing and click on Add Invoices in Bulk.
- Download the invoice feed template CSV file by clicking the Download button.
-
Fill in the following details inside the CSV file:
- Customer email associated with a Customer profile in your HitPay account
- Invoice number
- Currency and amount
- Optional reference
- Invoice date and due date
- Once done, upload the completed file by clicking the Choose File button. Your invoices will be automatically generated in your HitPay account.
Exporting Invoices
You can export your invoices to a CSV file by following these steps:- Click on the gear icon.
- Select the “Export” button.
- Choose the date range and status of the invoices you want to export.
- Click “OK”. After completing these steps, you will receive an email with the exported file.
Voiding Invoices
You can void invoices to stop payments and reminders for invalid or refunded invoices while keeping a record for audits.Eligible Invoices
You can void the following types of invoices:- Unpaid invoices: Sent, Pending, or Overdue.
- Partially or fully paid invoices: Only if all associated payments have been fully refunded.
How to Void an Invoice
- Go to Invoices > All Invoices.
- Find the invoice you want to void.
- Click Void Invoice, provide a reason, and confirm.
Once voided:
- The status changes to Void.
- Payments and reminders are disabled.
- The invoice becomes read-only but remains accessible.
For Customers
- Voided invoices show as “Void” and cannot be paid.
- Any outstanding balance or reminders are canceled.