Overview
HitPay’s recurring billing feature enables you to effortlessly handle membership fees and subscription-based products or services for your customers. This comprehensive guide will walk you through the process of creating and managing your recurring billing subscriptions. Recurring billing simplifies the collection of payments for products or services on automatic cycles – weekly, monthly, or annually. Moreover, it offers the flexibility to set a maximum number of billing intervals. Regardless of your technical background, you can manage payments seamlessly without needing a website or developer.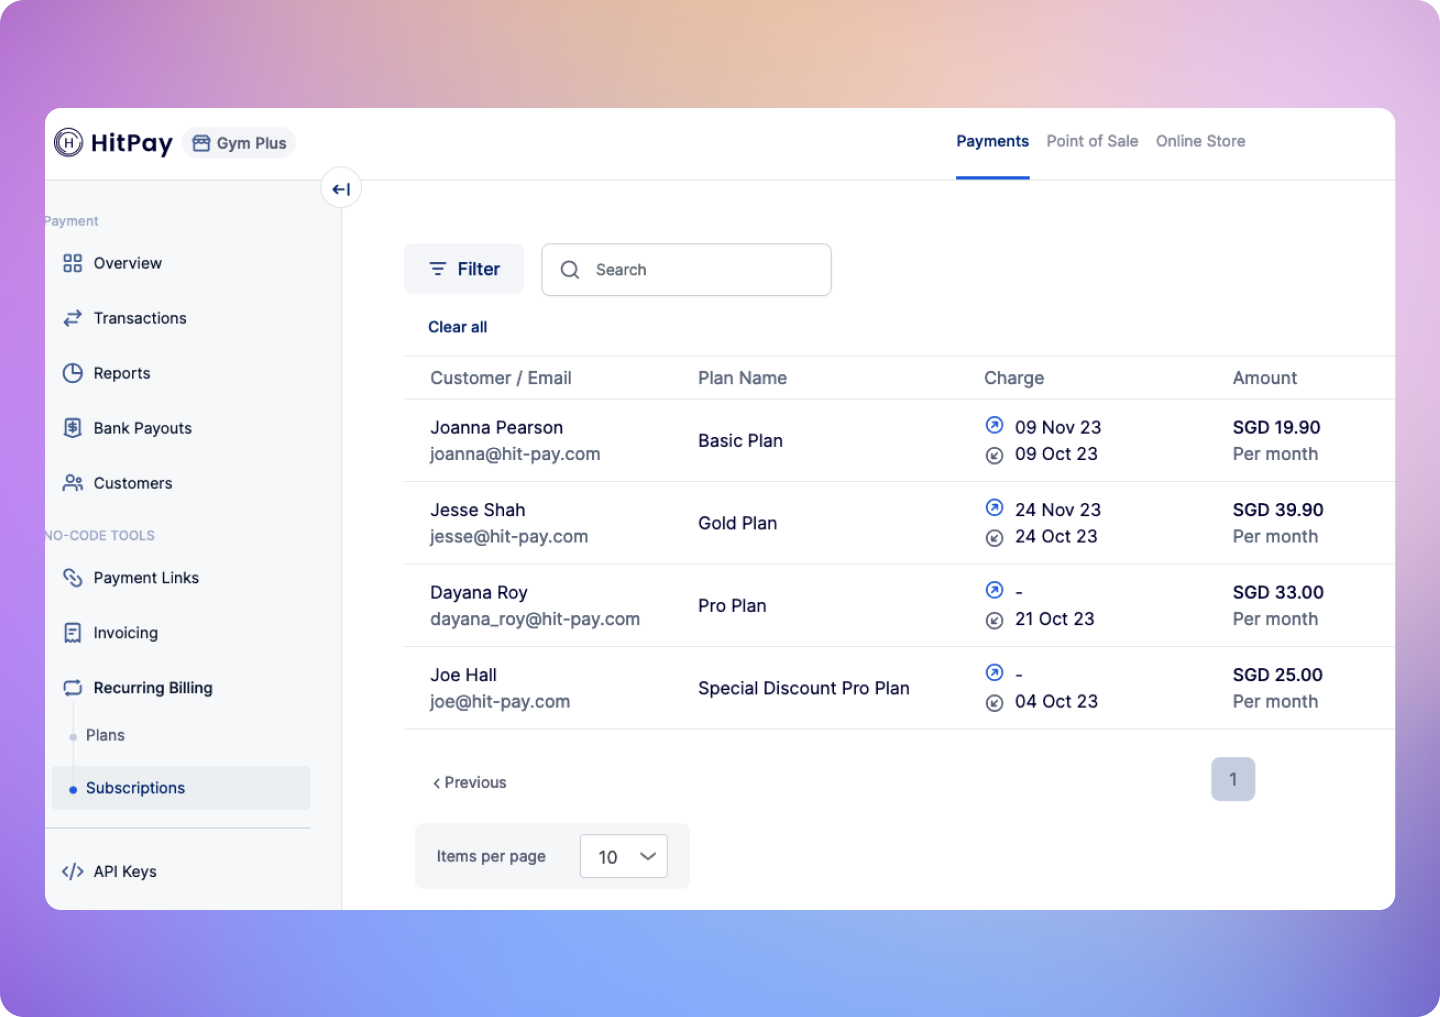
Supported Countries
Currently, the recurring billing feature is available in the following countries: Singapore, Malaysia, Australia, New Zealand, USA, UAE, Hong Kong, Japan, Mexico, Gibraltar, United Kingdom, Austria, Belgium, Finland, France, Germany, Ireland, Italy, Luxembourg, Netherlands, Portugal, Spain, Czech Republic, Denmark, Sweden, Canada, Croatia, Cyprus, Estonia, Greece, Latvia, Lithuania, Malta, Slovakia, Slovenia, Bulgaria, Hungary, Liechtenstein, Norway, Poland, Romania, SwitzerlandGetting Started
To access the subscriptions page, log in to the HitPay Dashboard and navigate to Recurring Billing > Subscriptions**. Click the Add Subscription button to create a new subscription. Adding a Subscription: Fill in the required information on the “Add Subscription” page:- Currency and Amount: Configure your subscription’s currency and amount.
- Renewal Cycle: Set billing intervals.
- Start Date: First billing date; subsequent billings follow this date.
- Times to be Charged: Specify the maximum deductions allowed for the plan.
Sending Subscriptions
Sending Invoices: After creating a subscription, you can send an invoice via email by clicking Send Link. The customer would receive a link to attach their card to the plan. Manual Link Sharing: Alternatively, you can copy the link and share it directly with the customer.Save Payment Details for Future Charges
You can securely store a customer’s payment method and trigger future charges manually using the dashboard.How it works
When creating a Subscription, set the billing cycle to Manual Charge (No Automatic Billing). Once selected, you can choose how the first charge should be handled:- Sign-up Date: The customer’s payment method will be saved and charged immediately after signing up.
- No Initial Charge (Store Payment Details Only): The payment method is saved securely without any charge at signup.
Subscription Status
Scheduled Status: Subscriptions appear under “Scheduled” status upon creation. Active: When a customer attaches a card to a plan, you’ll receive an email notification. Additionally, the subscription’s status on the HitPay dashboard changes from scheduled to “Active”. Retrying: This status arises when the renewal payment has failed. HitPay will automatically attempt to charge the customer for up to 7 consecutive days before moving the subscription to inactive. It’s a grace period to resolve payment issues. Inactive: When all renewal payment retries have failed during the retrying period, the subscription transitions to inactive status. It’s important to suspend access to your products/services. Customers can still re-activate their subscriptions by adding/updating their payment details. Paused: Subscriptions can be paused by you to temporarily stop billing without canceling the subscription. This can be set to an indefinite period or until a specific date. Automatic Cancellation: If a customer doesn’t attach a card to the plan by the subscription’s start date, the subscription is automatically canceled.Pause and Resume Subscriptions
Pause Subscription
Pausing a subscription allows you to temporarily stop billing without ending the subscription entirely. Here’s how you can initiate a pause:- Navigate to Recurring Billing > Subscription > Select Individual Subscription.
- Click the Pause Subscription option. A popup will appear.
- Start Date: Select the date when the pause will commence.
- Pause Duration: Decide between an “Indefinite” pause or a “Specific Date” to end the pause.
- Next Charge Date: Set the date when billing will resume post-pause.
Extending a Subscription Pause
Should you need to extend a pause:- Find and select the paused subscription you wish to extend on your dashboard.
- Click on Extend Subscription option. The initial settings will be prefilled; update the “Pause Duration” as required.
Resuming a Subscription Immediately
To immediately resume a subscription:- Select the paused subscription you’re ready to reactivate.
- Press Resume Subscription. A popup will display, where you should:
- Next Charge Date: Select the date for the next billing cycle. This action reactivates the subscription and resumes billing without delay.
Add One-Time Payment to an Active Subscription
The Add Payment feature allows you to charge a one-time amount to a customer’s saved payment method on an active recurring billing plan — without changing the subscription itself. This is ideal for add-ons, usage overages, or one-off services.When to Use
- Charge for one-time services (e.g., personal training session).
- Apply additional charges (e.g., late fees or extra usage).
- Manually collect top-ups using a saved payment method.
How It Works
Customer Requirements
- The customer must have saved a payment method to their subscription.
- The subscription must be in Active status.
Steps for Merchants
- Navigate to Recurring Billing > Subscriptions and select the customer’s active subscription.
- Click on Add Payment (visible only if a payment method is saved and the subscription is active).
- Enter the required details:
- Amount
- Description (e.g., “One-time personal training session”)
- Click Confirm to process the payment.
⚠️ This is a one-time charge and does not replace failed subscription payments.
After the Payment
- Payment is processed instantly using the saved payment method.
- A confirmation (success or failure) message is shown.
- The customer receives an email with the payment details.
- The transaction is recorded in the subscription’s transaction histories and timeline.
Subscription Settings
With the subscription settings, you have control over what happens when all attempts to charge a subscription have failed. You can choose between canceling the subscription or setting it to inactive, which allows customers to reactivate it later. To access these settings, navigate to Recurring billing > Subscription > Settings and make your selection.Filters and Exporting
If you have multiple subscriptions, you can use the additional filters on the right side to filter by customer email, customer name, plan name, created date, total amount and status. Additionally, you can also export your subscriptions to a CSV file by clicking on Export SubscriptionsBulk Actions via CSV Upload
Managing multiple subscriptions one by one can be time-consuming, especially if you have a large customer base. With CSV upload, you can perform bulk actions directly from the dashboard without using the API. You can use CSV upload to:- Create subscriptions
- Edit subscriptions
- Pause subscriptions
- Resume subscriptions
- Add one-time payments
Create Subscriptions
Required fields:- Customer email – The customer’s email address.
- Customer name – The full name of the customer.
- Plan ID – If provided, the subscription will use the details from the plan (name, description, cycle, repeat, frequency, amount, and currency).
- Plan name – Required only if Plan ID is not provided.
- Amount – Required if no Plan ID is provided.
- Currency – Required if no Plan ID is provided (e.g., SGD, MYR, USD).
- Cycle – Required if no Plan ID is provided. Options:
weekly,monthly,yearly, orcustom. - Cycle repeat – Required if cycle =
custom(number of times the cycle repeats, e.g., 3). - Cycle frequency – Required if cycle =
custom. Options:day,week,month,year. - Start date – The date the subscription should start (must be today or later).
- Save payment details –
trueorfalse. (More on save payment details)[billing/subscriptions#save-payment-details-for-future-charges] - First charge method – Options:
sign_up_dateorno_initial_charge. Only applicable when Save payment details is set totrue.
- Plan description – Notes or description of the plan.
- Redirect URL – The page the customer is taken to after successfully attaching their payment method.
- Send to email –
trueorfalse. If set totrue, HitPay will send the subscription link to the customer by email. Default istrue. - Times to be charged – Maximum number of charges for this subscription.
Edit Subscriptions
Required field:- Recurring billing ID – The unique ID of the subscription to update.
- Plan ID – If provided, the subscription updates to use the plan’s details (name, description, cycle, repeat, frequency, amount, and currency).
- Plan name – The display name of the subscription plan.
- Plan description – Notes or description of the plan.
- Amount – The recurring charge amount. Updates apply from the next charge onwards.
- Currency – The currency of the subscription (e.g., SGD, MYR, USD).
- Next charge date – The next scheduled billing date (must be today or later).
- Cycle – The billing cycle (weekly, monthly, yearly, or custom).
- Cycle repeat – Used only when cycle =
custom(number of times the cycle repeats). - Cycle frequency – Used only when cycle =
custom(day, week, month, year). - Save payment details –
trueorfalse. Learn more about how save payment details works. - First charge method – Options:
sign_up_dateorno_initial_charge. Only applicable when Save payment details istrue. - Redirect URL – The page the customer is taken to after successfully attaching their payment method.
- Send to email –
trueorfalse. If set totrue, HitPay will send the subscription link to the customer by email. - Times to be charged – Maximum number of charges for this subscription.
Pause Subscriptions
Required fields:- Recurring billing ID – The unique ID of the subscription.
- Pause start date – The date the pause should begin (dd/mm/yyyy).
- Pause end date – The date to automatically end the pause (dd/mm/yyyy).
- Next charge date – Required if Pause end date is set. Defines when the next billing resumes.
Resume Subscriptions
Required fields:- Recurring billing ID – The unique ID of the subscription.
- Next charge date – The next billing date after resuming.
Add One-Time Payments
Required fields:- Recurring billing ID – The unique ID of the subscription.
- Amount – The amount to be charged.
- Currency – Currency code (e.g., SGD, MYR, USD).
- Description – Description of the payment (e.g., “Late fee”, “Top-up charge”)
FAQs
Can I change the subscription amount?
Can I change the subscription amount?
Yes, you can edit the subscription amount anytime, including before and after the 1st charge. The new amount will only be reflected from the next charge. All previous charges will not have any impact.
What happens if an attached card associated with an active plan gets declined?
What happens if an attached card associated with an active plan gets declined?
If an attached card associated with a plan gets declined on the scheduled charge date of the plan, the customer is immediately sent an email requesting them to update their card details using the link.At the same time, the account owner is also notified by email about the failed charge.If the customer fails to attach a valid card within 7 days from the failed charge date, the subscription will move to a inactive status.
When will a scheduled customer subscription be canceled?
When will a scheduled customer subscription be canceled?
The scheduled customer subscription will be canceled if the customer hasn’t entered their payment details by the billing start date.
Will my customers receive an email notification before being charged?
Will my customers receive an email notification before being charged?
Yes. To send a reminder email to your customers 7 days before their subscription renewal, navigate to Subscription > Settings and toggle the reminder option on.
Can customers update their payment method for an active subscription?
Can customers update their payment method for an active subscription?
Yes. Customers can update their payment method directly from their recurring billing link. They can switch to any supported method, including cards, ShopeePay, or GrabPay, without cancelling their plan.
If they need the recurring billing link again, you can resend it:
- Go to your HitPay dashboard
- Open the customer’s subscription
- Click Send Email to email the recurring billing link, or Copy Link to share it manually
Can my customers cancel their subscription?
Can my customers cancel their subscription?
No, customers are not able to cancel their subscription. They will need to notify you, and you can cancel it for them.
Which alternative payment methods can I accept?
Which alternative payment methods can I accept?
You can accept multiple alternative payment methods, including digital wallets. View the full list in the supported payment methods table.