Custom Payment Methods
Learn how Stripe Custom Payment Methods work and how to configure them in your account.
Payment Records API
Understand how to record external payments in Stripe using the Payment Records API.
Supported Payment Flows
| Flow | Description |
|---|---|
| One-Time Payments | Customer selects a HitPay payment method, scans QR code or completes via redirect, payment recorded in Stripe |
| Subscriptions (Auto-Charge) | Customer authorizes and tokenizes a payment method once, future invoices charged automatically via HitPay |
| Subscriptions (Out-of-Band) | Customer completes a one-time payment for each invoice (not tokenized) - same flow as one-time payments, repeated per billing cycle |
Choosing a subscription flow: Use Auto-Charge for the best customer experience with cards, ShopeePay, or GrabPay. Use Out-of-Band when customers prefer QR-based methods like PayNow, or when you want customers to actively approve each payment.
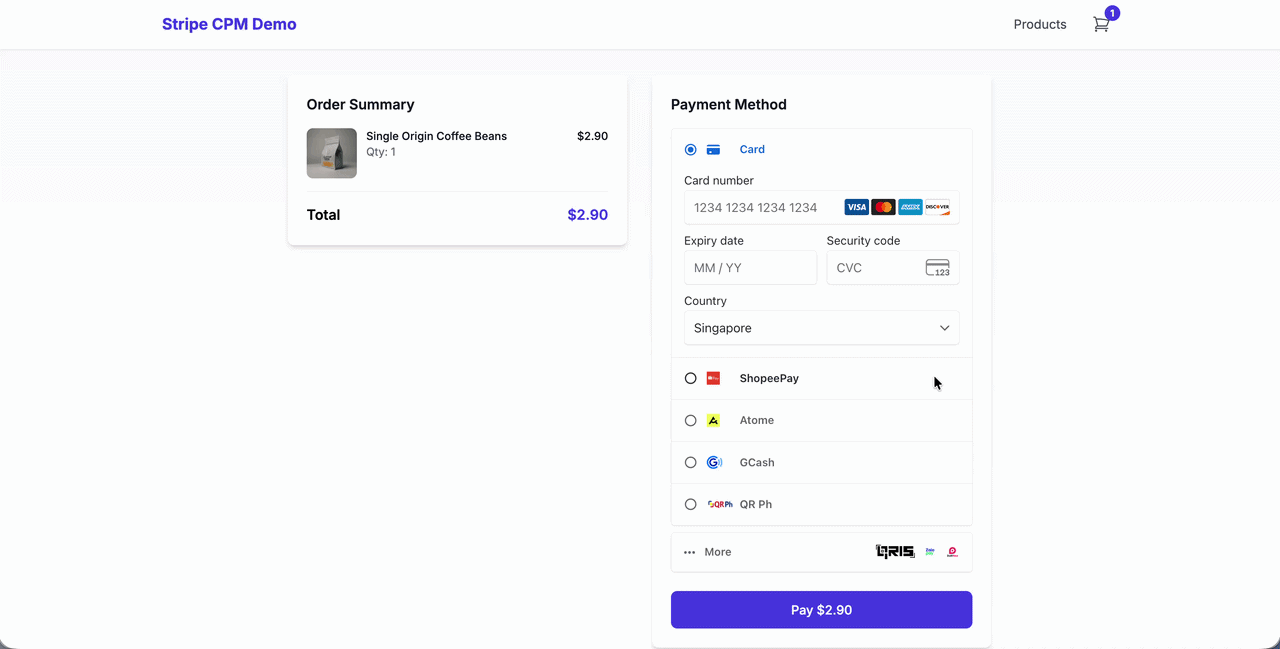
Supported Payment Methods
HitPay supports a wide range of local payment methods across Southeast Asia, including PayNow, ShopeePay, GrabPay, FPX, Boost, Touch ‘n Go, and more.HitPay Payment Methods
View the full list of payment methods and supported currencies available through HitPay.
Embedded QR Code Payments
Learn how to embed QR codes directly in your checkout page for seamless mobile payments.
Auto-Charge Support: Not all payment methods support tokenization for recurring charges. QR-based methods like PayNow require the “Out-of-Band” invoice flow where customers pay each invoice manually. Methods like Cards, ShopeePay, and GrabPay support auto-charge subscriptions.
Architecture Overview
Before you begin
Create a Stripe account or sign in with your existing account.
Ensure your business verification is complete to access Custom Payment Methods and the Payment Records API.
Create custom payment methods in the Stripe Dashboard.
Go to Settings → Payments → Custom Payment Methods and create a CPM for each HitPay method you want to offer. Provide the name and logo for the Payment Element to display.Logo guidelines:
- For logos with a transparent background, consider the background colour of the Payment Element on your page and make sure that it stands out
- For logos with a background fill, include rounded corners in your file, if needed
- Choose a logo variant that can scale down to 16x16 pixels (often the standalone logo mark for a brand)
cpmt_xxx) - you’ll need this for your integration.Create a HitPay account or sign in with your existing account.
- Activate payment methods: Go to Settings → Payment Methods and enable the methods you want to offer (PayNow, ShopeePay, GrabPay, FPX, etc.)
- Get API credentials: Go to Settings → Payment Gateway → API Keys and copy your API Key and Salt
- Use sandbox for testing: Toggle to sandbox/test mode in your HitPay dashboard for development
Build Your Integration
One-Time Payments
Implement single payment flow with QR codes
Subscriptions (Auto-Charge)
Set up recurring billing with tokenized payment methods
Subscriptions (Out-of-Band)
Set up recurring billing with one-time payments per invoice
FAQ
Why integrate HitPay with Stripe?
Why integrate HitPay with Stripe?
While Stripe offers excellent global payment coverage, local payment methods in Southeast Asia often have limited availability or higher fees through Stripe’s native integrations. By integrating HitPay as a Custom Payment Method provider:Benefits for You:
- Better Local Rates - HitPay’s direct partnerships with local payment providers often result in lower transaction fees compared to Stripe’s pass-through rates for regional methods.
- Consolidated Reporting - All HitPay transactions are recorded in Stripe via the Payment Records API - view all your payments in one dashboard without switching between platforms.
- Unified Checkout Experience - Customers see all payment options in a single Stripe Payment Element - no redirects to separate checkout pages or fragmented payment flows.
- Expanded Local Coverage - Access to PayNow, ShopeePay, GrabPay, FPX, Boost, Touch ‘n Go, and other regional payment methods that customers prefer.
Can I embed custom content directly in the Payment Element?
Can I embed custom content directly in the Payment Element?
Yes! Instead of handling custom payment methods via the submit flow, you can use the embedded type to display your custom content (like QR codes) directly within the Payment Element.Use This allows you to render HitPay QR codes directly inside the Payment Element when customers select a custom payment method.
type: 'embedded' with handleRender and handleDestroy callbacks:Stripe Embedded Custom Content Docs
Learn more about embedding custom content in the Payment Element.
How do I customize the name and logo of my custom payment method?
How do I customize the name and logo of my custom payment method?
You can customize how your custom payment methods appear in the Payment Element through the Stripe Dashboard.To add or update the name and logo:
- Go to your Stripe Dashboard
- Navigate to Settings → Payments → Custom Payment Methods
- Select the custom payment method you want to edit
- Update the Display name and upload a Logo image
- Recommended size: 128x128 pixels minimum
- Supported formats: PNG, JPG, SVG
- For transparent backgrounds, ensure the logo contrasts with your Payment Element background
- Choose a logo variant that scales well to 16x16 pixels
Download Payment Icons
Download a ZIP file containing official HitPay payment method icons (PayNow, ShopeePay, GrabPay, FPX, and more) optimized for Stripe Custom Payment Methods.