

Overview
A vendor is a supplier or contractor record that groups everything you pay them for in one place - contact details, linked bank accounts, spend history, and every bill you’ve paid them. Instead of a vendor appearing as several disconnected beneficiaries because they have multiple bank accounts (for example, an SGD account and a USD account), Bill Pay links them all under a single vendor profile.Vendor directory
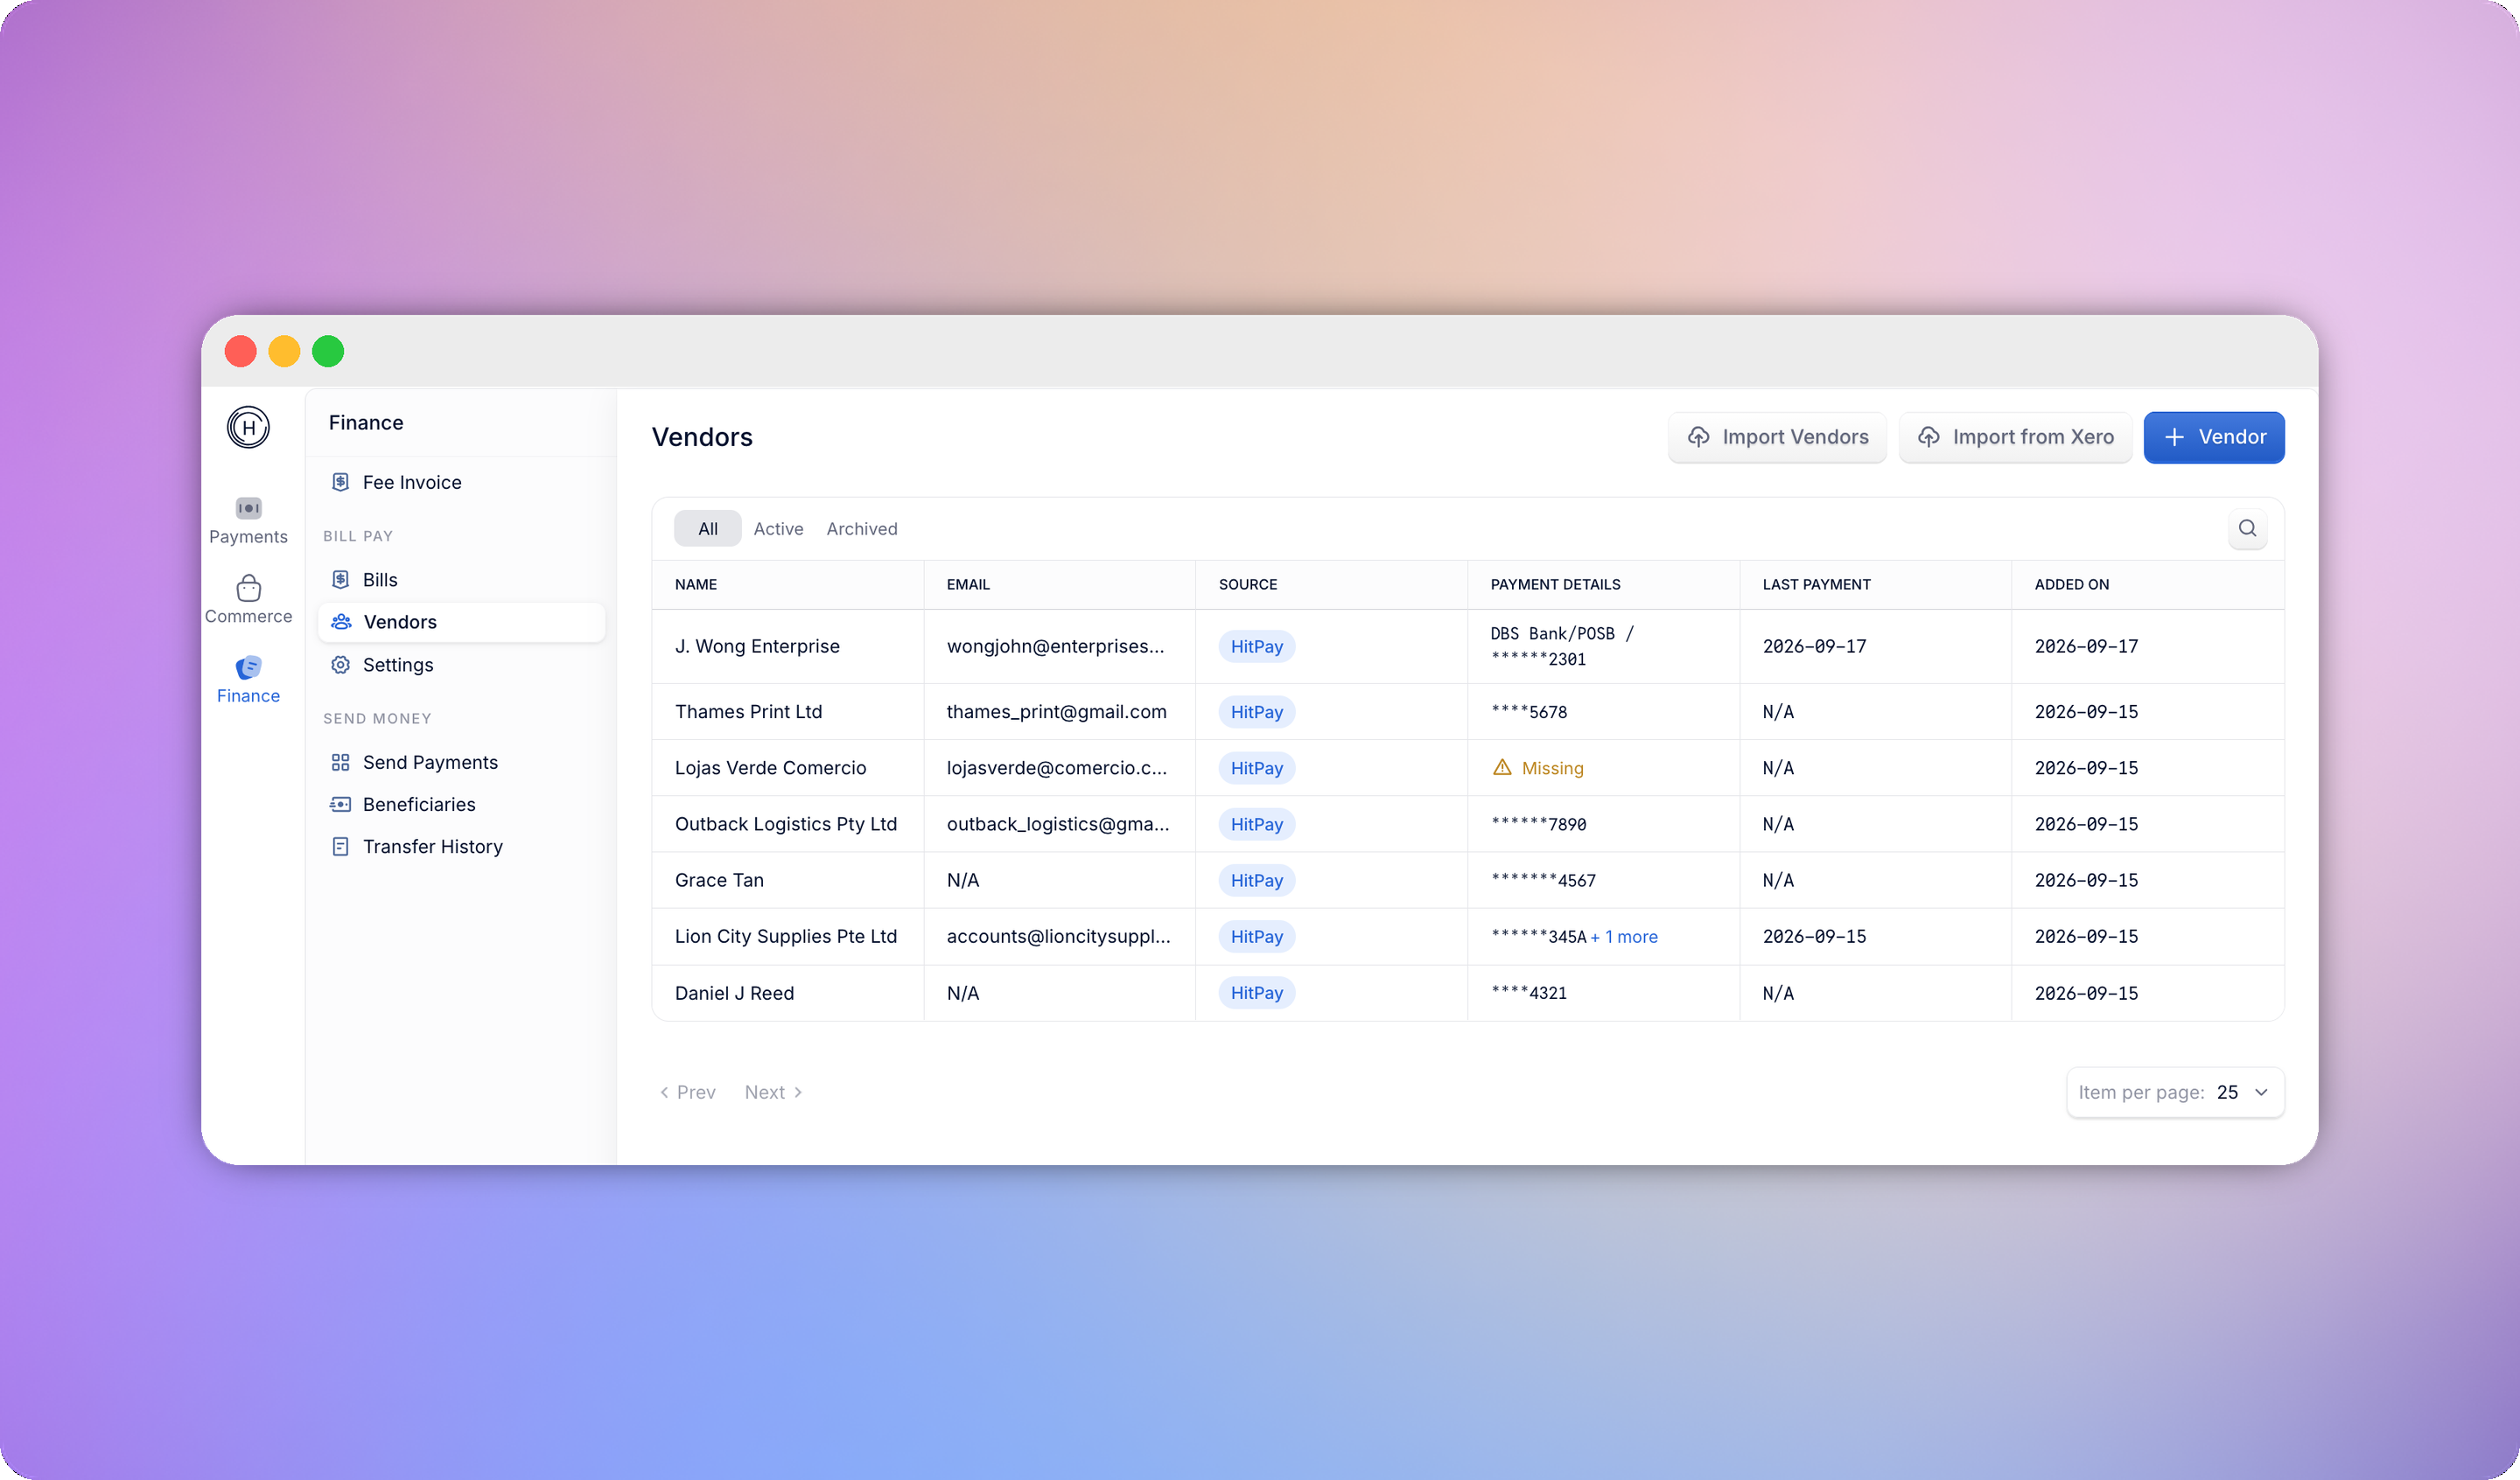
Go to Vendors in the Bill Pay sidebar to see every vendor in a table: name, email, number of bills, payment details (masked account number, or a “Missing” warning if none is linked), last payment date, and when the vendor was added.- Search by name, email, or tax ID
- Filter by status: All, Active, or Archived
- Sort by clicking any column header
- Click a row to open that vendor’s profile
Vendor profile
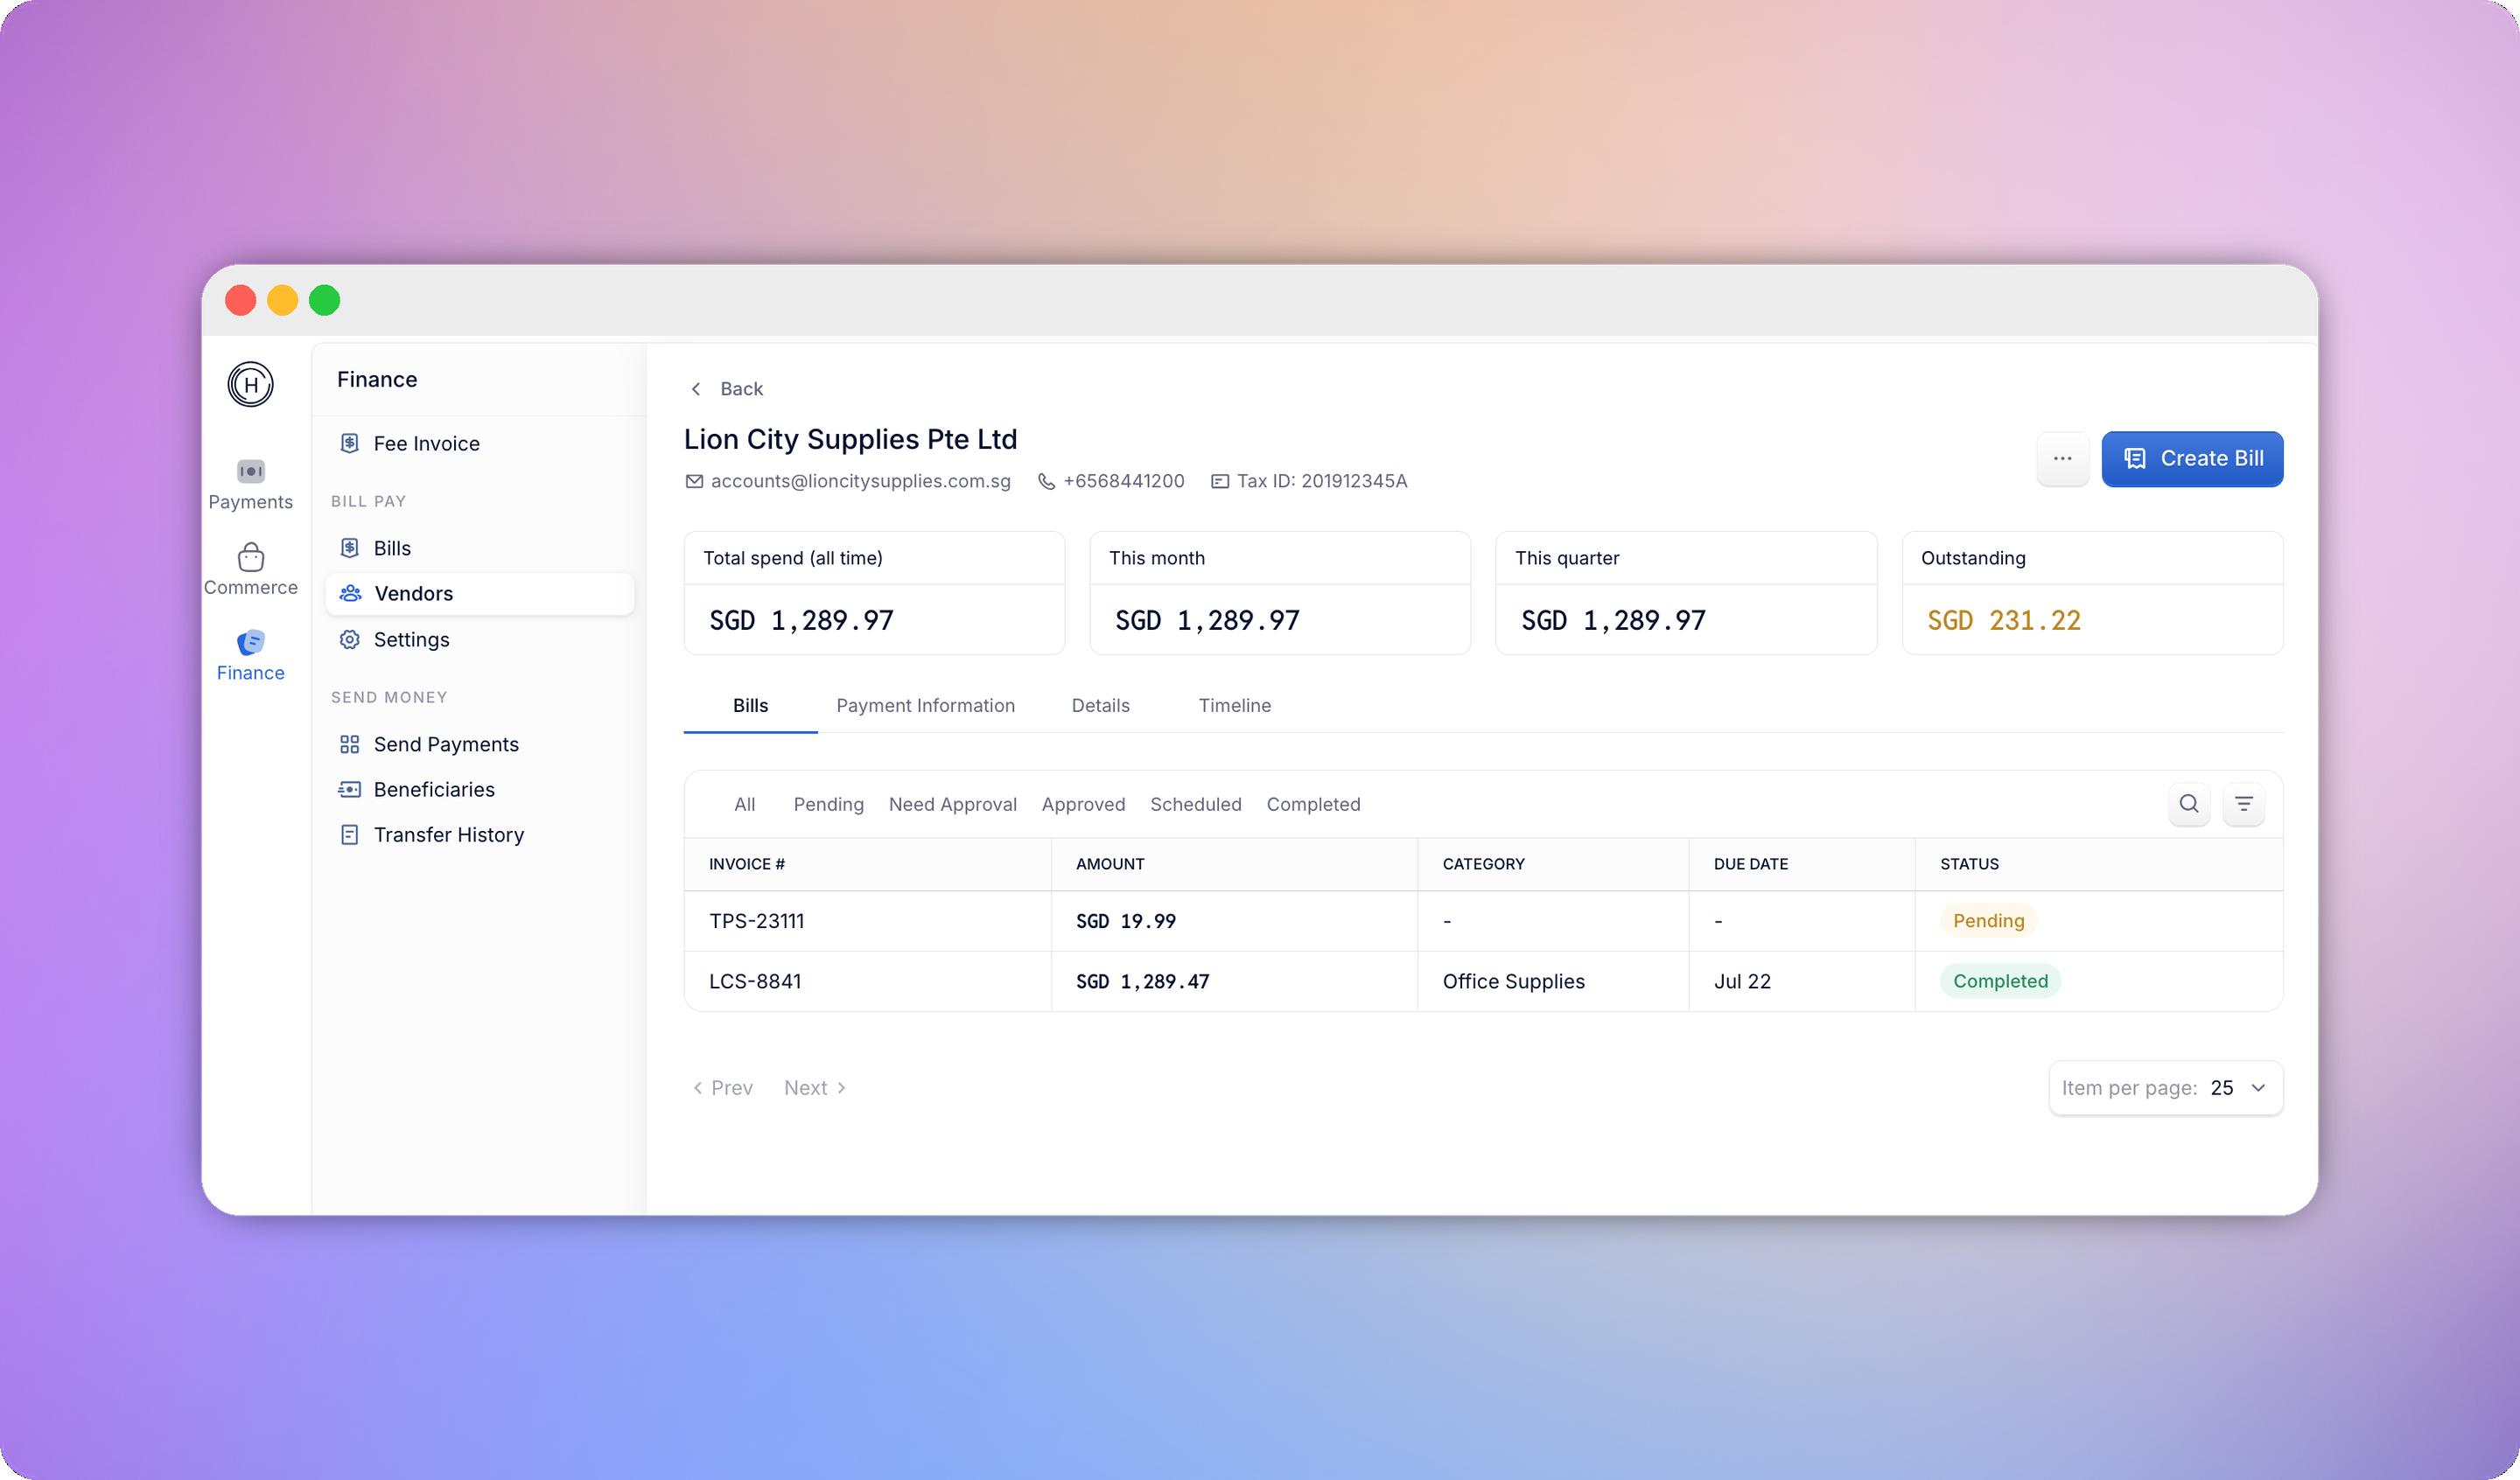
Each vendor profile shows:- Header - name, entity type, status, email, and phone
- Summary cards - Total Spend (all-time), This Month, This quarter and Outstanding. Amounts are grouped by home currency.
- Bills tab - every bill for this vendor, filterable by status.
- Payment Information tab - linked bank accounts, with the option to add a new one, set a primary account, or unlink an existing one
- Details tab - editable legal name, entity type, tax ID, email, phone, and address
- Timeline tab - a chronological activity log of everything that’s happened on this vendor (creation, edits, bank account changes, payments)
Adding and managing vendors
To add a vendor manually, go to Vendors > Add Vendor and fill in:
Archiving a vendor hides it from the default list and bill-creation dropdowns without affecting any of its existing bills or bank accounts. Filter by Archived to find it again, and unarchive it from the vendor profile at any time.
Linking a bank account
From a vendor’s Payment Information tab, click Add Payment Information and enter the country, transfer method, currency, account holder name, and account number. If a vendor has more than one bank account, click Set as Primary on the one that should be pre-selected automatically when you create new bills for them. Deleting a payment method only unlinks it from the vendor - it doesn’t delete the underlying bank account.Vendor matching during bill creation
When you upload a bill, HitPay tries to match it to an existing vendor automatically. If a match is found, you’ll see “Matched to{vendor name}” with the option to change it. If not, you can search your existing vendors or create a new one inline, with the name pre-filled from OCR where available.
Bulk vendor import
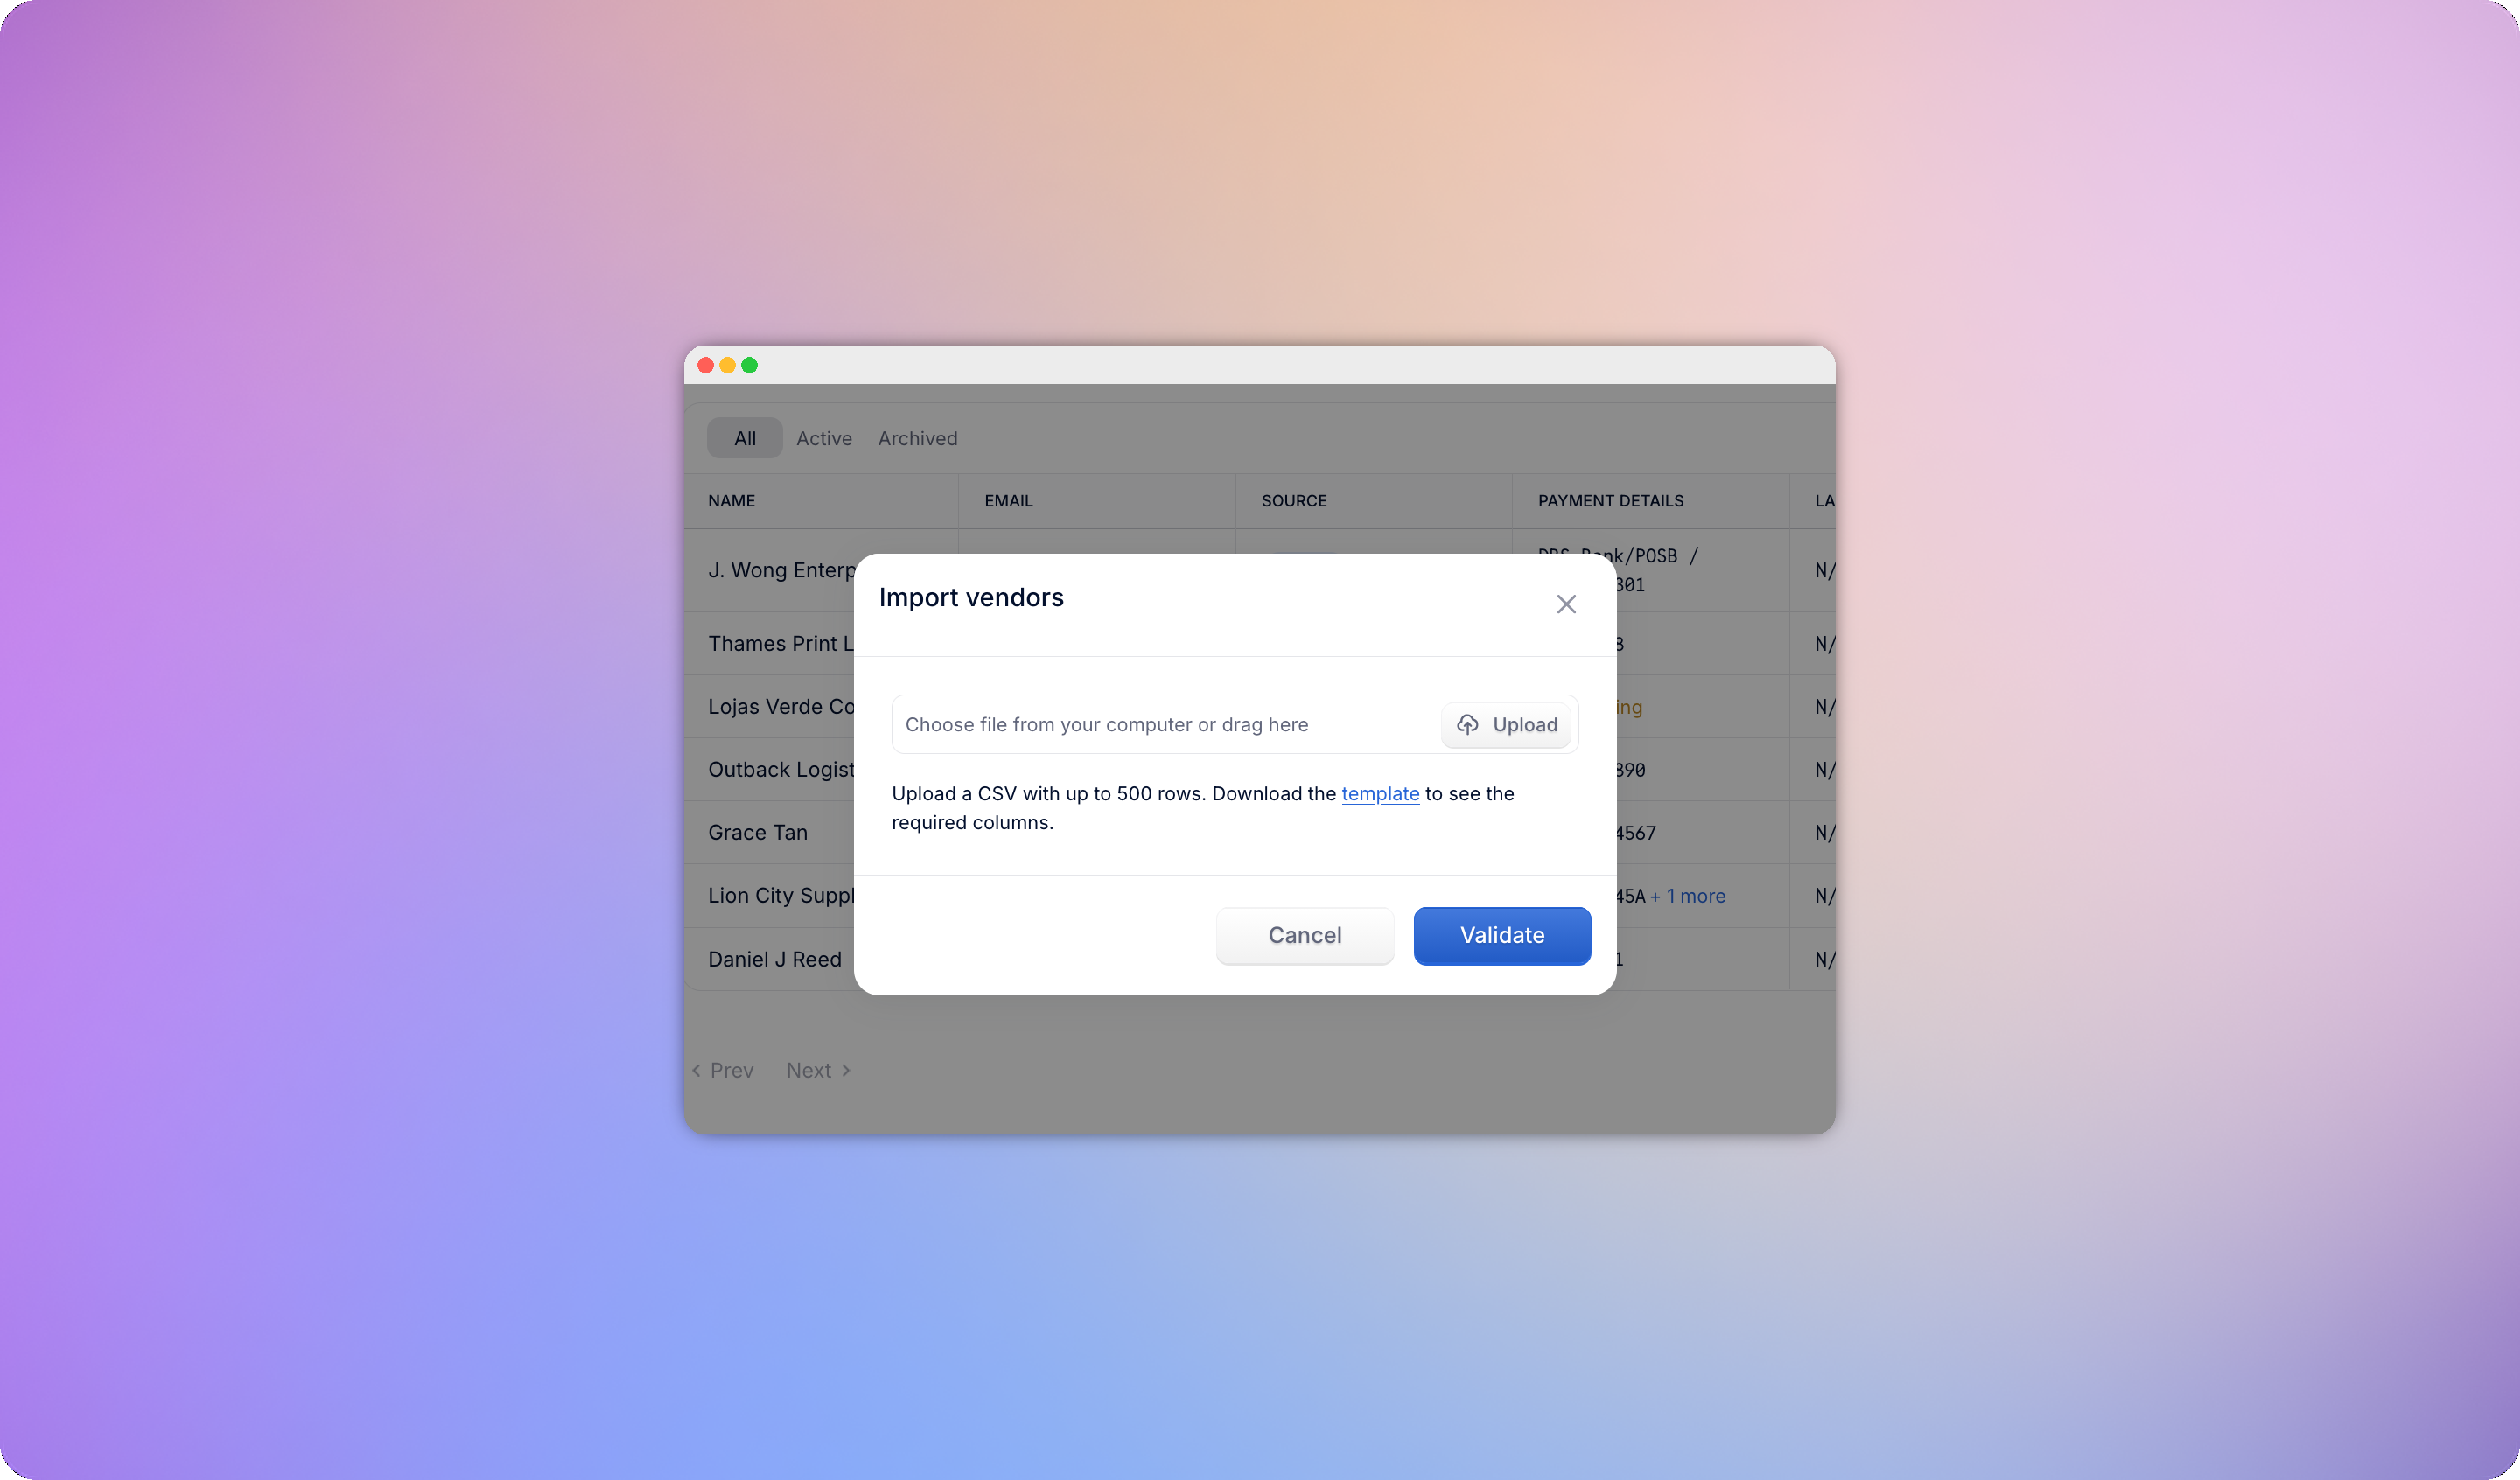
If you’re migrating from a spreadsheet or another platform, import your whole vendor list at once instead of adding them one by one. Go to Vendors > Import Vendors and choose:- CSV Upload - for vendors kept in a spreadsheet
- Sync from Accounting - for Xero (see Xero Integration)
CSV upload
Download the official template. It includes vendor fields (name, email, phone, tax ID, address) and bank account fields (country, currency, account holder name, account number, and a routing code where the destination country requires one).- Maximum 500 rows per upload
- Rows are validated before anything is created; invalid rows are flagged with the specific error (for example, an unrecognised country code or a badly formatted phone number)
- You can fix and re-upload, or proceed - valid rows import while flagged rows are skipped and available to re-download