Overview
HitPay allows you to create product categories in your HitPay Online Store. Organizing your products into categories helps customers navigate your store more effectively. For instance, if your store offers smartphones, you can categorize them into meaningful groups such as ‘Android’ and ‘iOS.’ Furthermore, within the ‘Android’ category, you can create subcategories like ‘Samsung,’ ‘OnePlus,’ and ‘Google Pixel,’ providing a structured and user-friendly way for customers to find their desired products.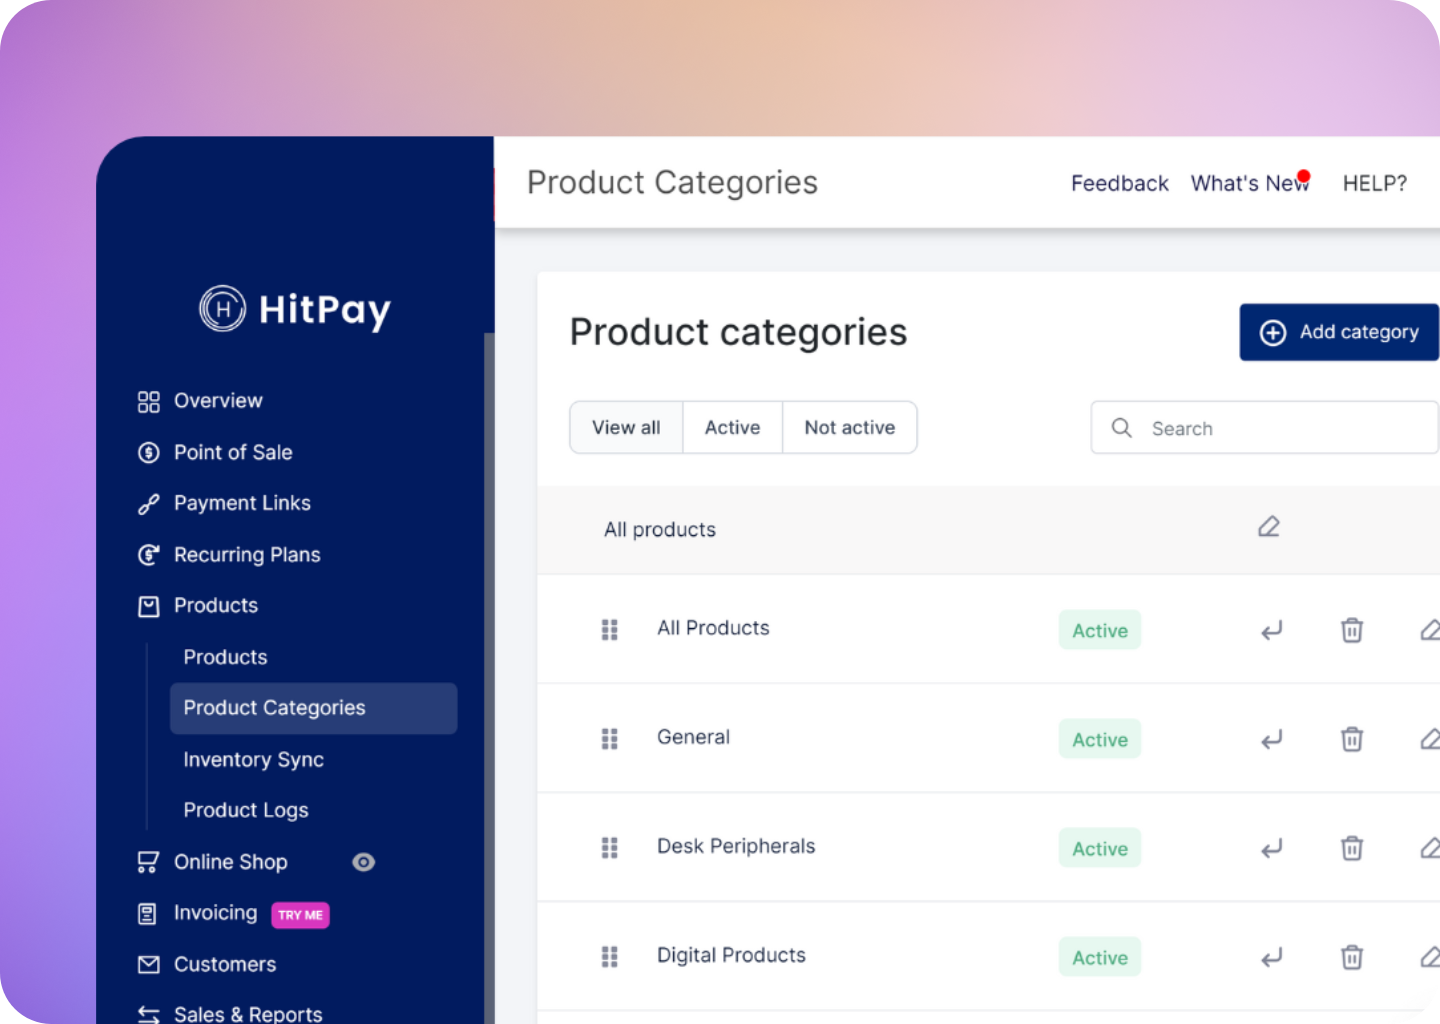
Managing Product Categories
To manage your product categories:- Go to your HitPay Web Dashboard.
- Navigate to Products > Product Categories
Adding a New Category
When you create a new category, customers visiting your online store will see the new category displayed on the homepage amongst all other categories, making it simpler for them to browse and choose products that fall under the designated category.- On the Product Categories page, click the Add Category button.
- Provide a name and description(optional) for the category.
- Click Save Changes when done.
Assign Products to a Category
- On the Product Categories Page, click on the category you’d like to add products to.
- Click Add Product and click Save when done.
- Click and hold on a product, then drag it to the desired position within the category.
- Release the mouse button to drop the product into its new position.
You can rearrange products within specific categories and in the All Products view to fine-tune the display order across your entire product inventory.
Rearranging Categories
Rearranging categories changes the order in which categories appear on your online store. This can help you emphasize certain categories, promote seasonal items, or adjust the layout to match changing customer preferences. To rearrange categories:- Click the three vertical dots next to a category.
- Click and hold on the product, then drag it to your preferred position. Your changes are automatically saved.