Printing Receipts Automatically
You can streamline your checkout process by configuring the HitPay POS app to automatically print receipts after each transaction. Follow these simple steps to customize your receipt settings:- Open HitPay app
- Go to Settings > Printer
- Click on the Printer Settings (Gear Icon) on the top right of the page.
- To enable automatic receipt printing, enable the “Print receipts automatically” toggle.
- Select the number of receipts to be printed
- If you are printing more than 1 receipt, you can set the time delay between each prints
- Once you’ve configured your preferences, click on the “Save” button to apply the changes.
Multi-Device Printing
You can connect multiple printers to HitPay POS. To do so, you can simply :- Go to Printer > Connect Printer
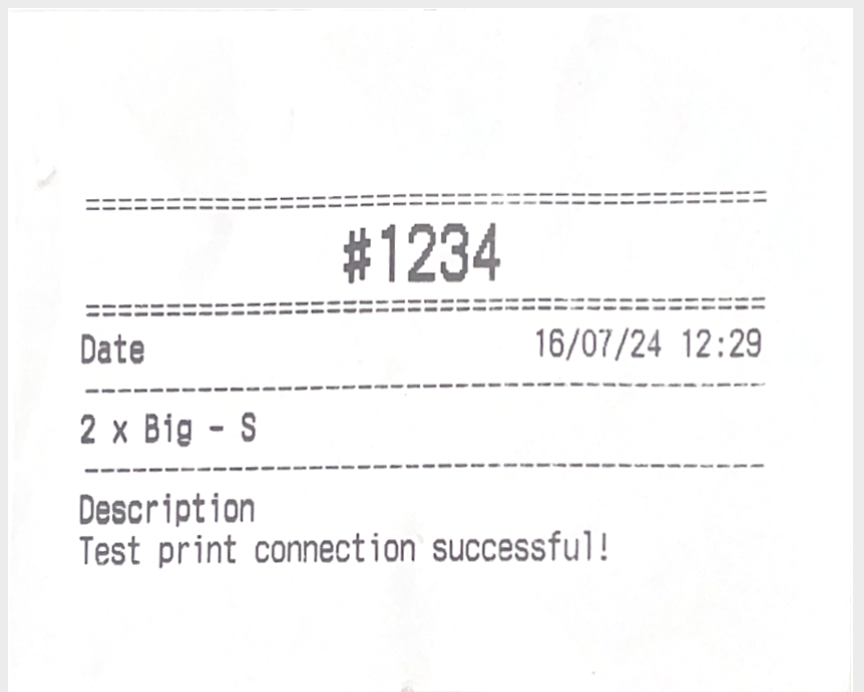
- Create a printer and name it (e.g Printer A), select the respective printer model and click “Test printer connection”.
- Once succesfully printed a test print, click Save
- Go back to the printer list and add a new printer by following step 1
Using HitPay POS for Kitchen Printers

- Go to Printer > Connect Printer
- Create a printer and name it (e.g Printer A), select the respective printer model and click “Test printer connection”.
- Under “What is this printer for”, you can select “Order Ticket”
- Click save
- Whenever a new order is printed, the printer will print the order ticket format and leave out the payment related details