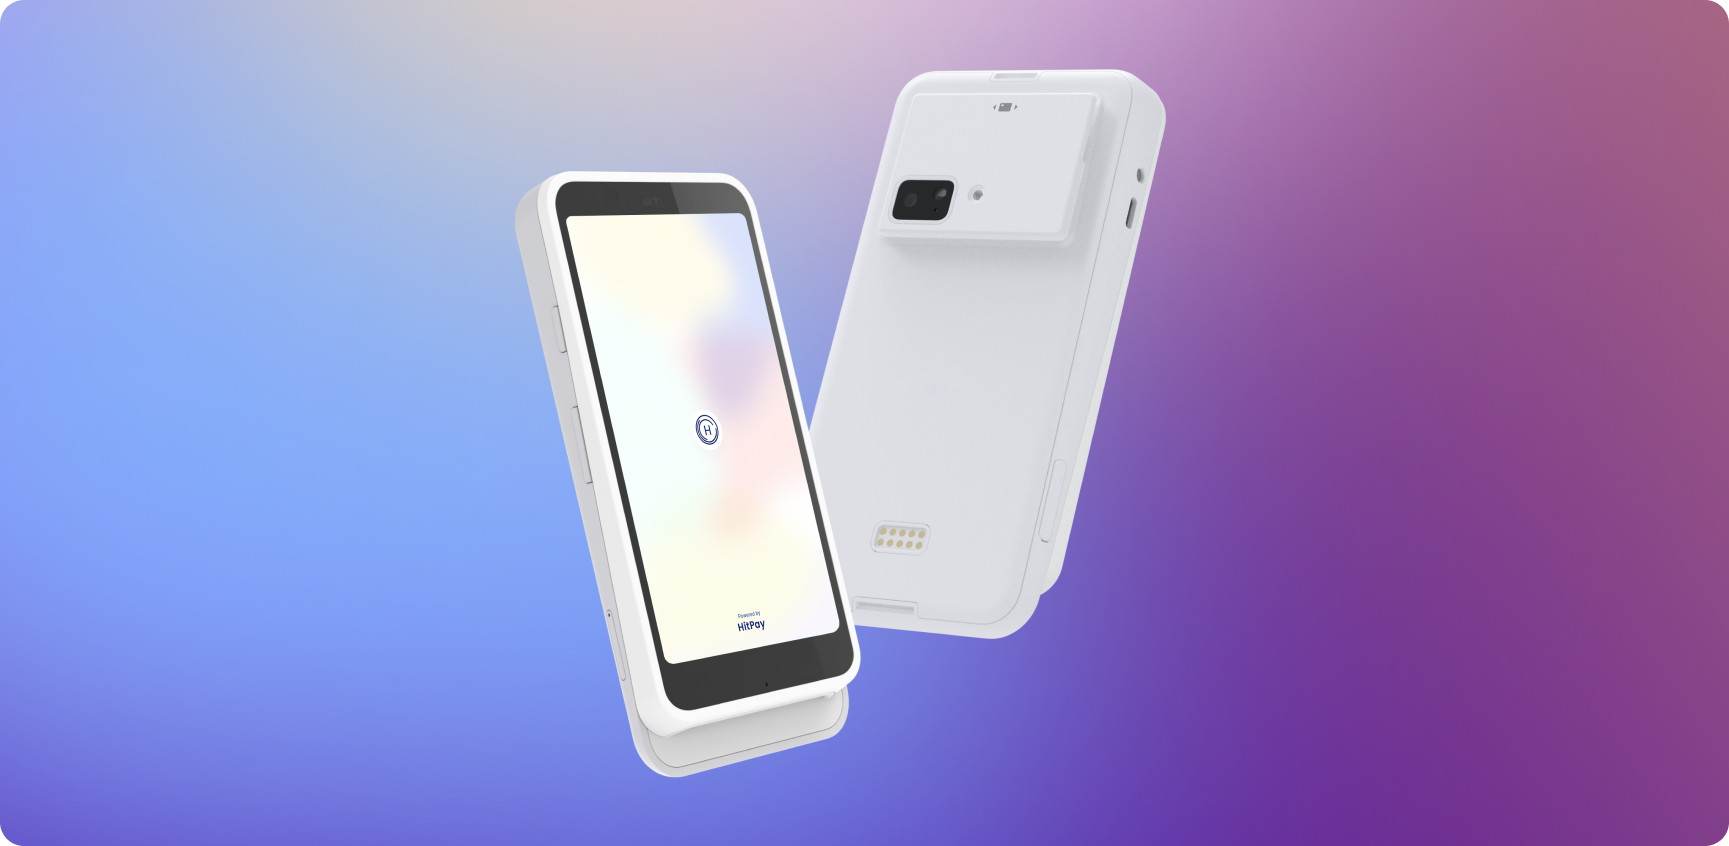
FlexiPOS E is only available in select regions
Overview
The FlexiPOS terminal is designed for secure card transactions. You can use it as a standalone mode by default, with the HitPay app embedded. Alternatively you can request a conversion to “Pair with Desktop” mode if you plan to use it as just a terminal reader.
Steps to Set Up
- When you receive the device, insert the battery and plug the provided cable into the port with the lightning bolt symbol to power the reader. Press the Power button to switch on the device.
- After switching on for the first time, you will be prompted to connect to a Wi-Fi network. Connect to your Wi-Fi network.
- Generate a pairing code (e.g., Tang-Peace-Man) from the settings page on the terminal.
- Connect the reader to your account. Open the HitPay dashboard and navigate to Point of Sales > Terminal > Register Terminal. Insert the code under the Registration Label and connect.
If you want to use the FlexiPOS to pair with the HitPay app or your custom web app; send a WhatsApp message to +65 9864 4718 or write to support@hit-pay.com to request for a terminal conversion from the Standalone mode to mode.
Accessing Settings
- Standalone Mode
- Reader Mode
- Log in to HitPay app
- Go to Settings > Check Reader Settings
- Enter the admin PIN 07139.
- From here, you can update your WiFi settings or generate a pairing code for device registration.
- Battery status is displayed at the top right of this screen. To close the settings menu, click the back arrow in the top left corner.
Connecting Reader via Wi-Fi
To connect to WiFi or switch networks, go to settings, then select WiFi settings to choose the network and connect. Attempting to join a new network disconnects the reader from any existing wireless connection.Troubleshooting Wi-Fi Connection
Reader is unable to connect
To check connectivity, go to settings, then select WiFi settings. This displays all available WiFi networks. To see more details about the connection, tap on the connected network name.- Make sure the Wi-Fi network is connected and has internet access.
- The signal strength is good.
- The Wi-Fi network is a WPA/WPA2/WPA3-Personal or WPA2/WPA3 EAP-PEAP Enterprise encryption.
- The Wi-Fi network is password protected
- The device has an IP address assigned.
How to identify your Wi-Fi network’s security type :
Windows 10- Find the Wi-Fi connection icon in the taskbar and click on it
- Then click Properties underneath your current Wi-Fi connection
- Scroll down and look for the Wi-Fi details under Properties
- Under that, look for Security Type, which shows your Wi-Fi protocol
- Hold down the Option key
- Click on the Wi-Fi icon in the toolbar
- This will show your network details, including your Wi-Fi security type
- On your Android phone, go into Settings
- Open the Wi-Fi category
- Select the router you are connected to and view its details
- This will show what Wi-Fi security type your connection is
- The path to this screen may differ depending on your device
- Unfortunately, there is no way within iOS to check your Wi-Fi security. If you want to check your Wi-Fi’s security strength, you can either use a computer or log into the router through the phone. Each router may be different, so you may need to refer to the documentation that came with the device. Alternatively, if your internet service provider set up the router, you could contact them for assistance.
How do I change my Wi-Fi security encryption?
The steps to configure Wi-Fi security encryption might vary depending on your specific router model and provider. Please refer to your router’s manual or the support resources provided by your internet service provider (ISP) for detailed and accurate instructions tailored to your device.
- Using the browser of your choice, log into the admin console of your home router.
- The exact method for doing this may vary depending on your router manufacturer.
- You can refer to your Router Manual for more details.
- However, the most common method is to enter http://192.168.1.1 into the browser address bar and press ENTER; http://10.0.0.1/ is another common router IP address. 2. Navigate to the Wireless Security section 3. Select Encryption Option
- Select WPA/WPA2/WPA3-Personal or WPA2/WPA3 EAP-PEAP Enterprise encryption 4. Set Your Network Password
- Create a strong network password 5. Save Changes & Reboot
- Upon saving, reconnect all your wireless devices
- Select your new WiFi SSID and enter the new WiFi password.
How do I check the IP address of my FlexiPOS Terminal?
- Ensure your FlexiPOS device is powered on and connected to the Wi-Fi network.
- Navigate to Settings either by swiping from left to right (Pair with Desktop mode) or from Settings > Check Reader Settings (Standalone mode)
- Go to ‘Network Settings’ and select “Network” > “Wi-Fi”
- Your device should display the connected network and the assigned IP address.
Connecting Reader via Ethernet
Ethernet connectivity requires the use of an optional dock, which provides wired Ethernet connectivity and keeps your smart reader fully charged using the included charging cable. You can purchase the dock separately through the HitPay online store (Singapore-based businesses) or the HitPay dashboard > Point of Sale > Terminal (Non-Singapore based businesses). The Ethernet Dock features a 10/100 Ethernet port and rubber feet for stable countertop use. To set up the dock:- Connect the Ethernet cable from your dock to your router.
- Connect the dock to power. It has a minimum power requirement of 5V-2A (10W) and includes a charging cable, which you can plug into any USB-A power adapter (not included).
- When both cables are connected, insert the reader into the dock.
Steps to Accept a Payment
To accept payment, follow these steps below :- Reader Mode
- Standalone Mode
- Ensure that you have HitPay app running on a separate device, either iOS / Android or Web Browser.
- Go to Point of Sale
- Connect the FlexiPOS
- Create a charge and select “Card Terminal” from the list of payment methods.
- You should be prompted to either tap or insert the customer’s card into the terminal. After tapping or inserting the card, wait for the payment success message to appear in the HitPay App.
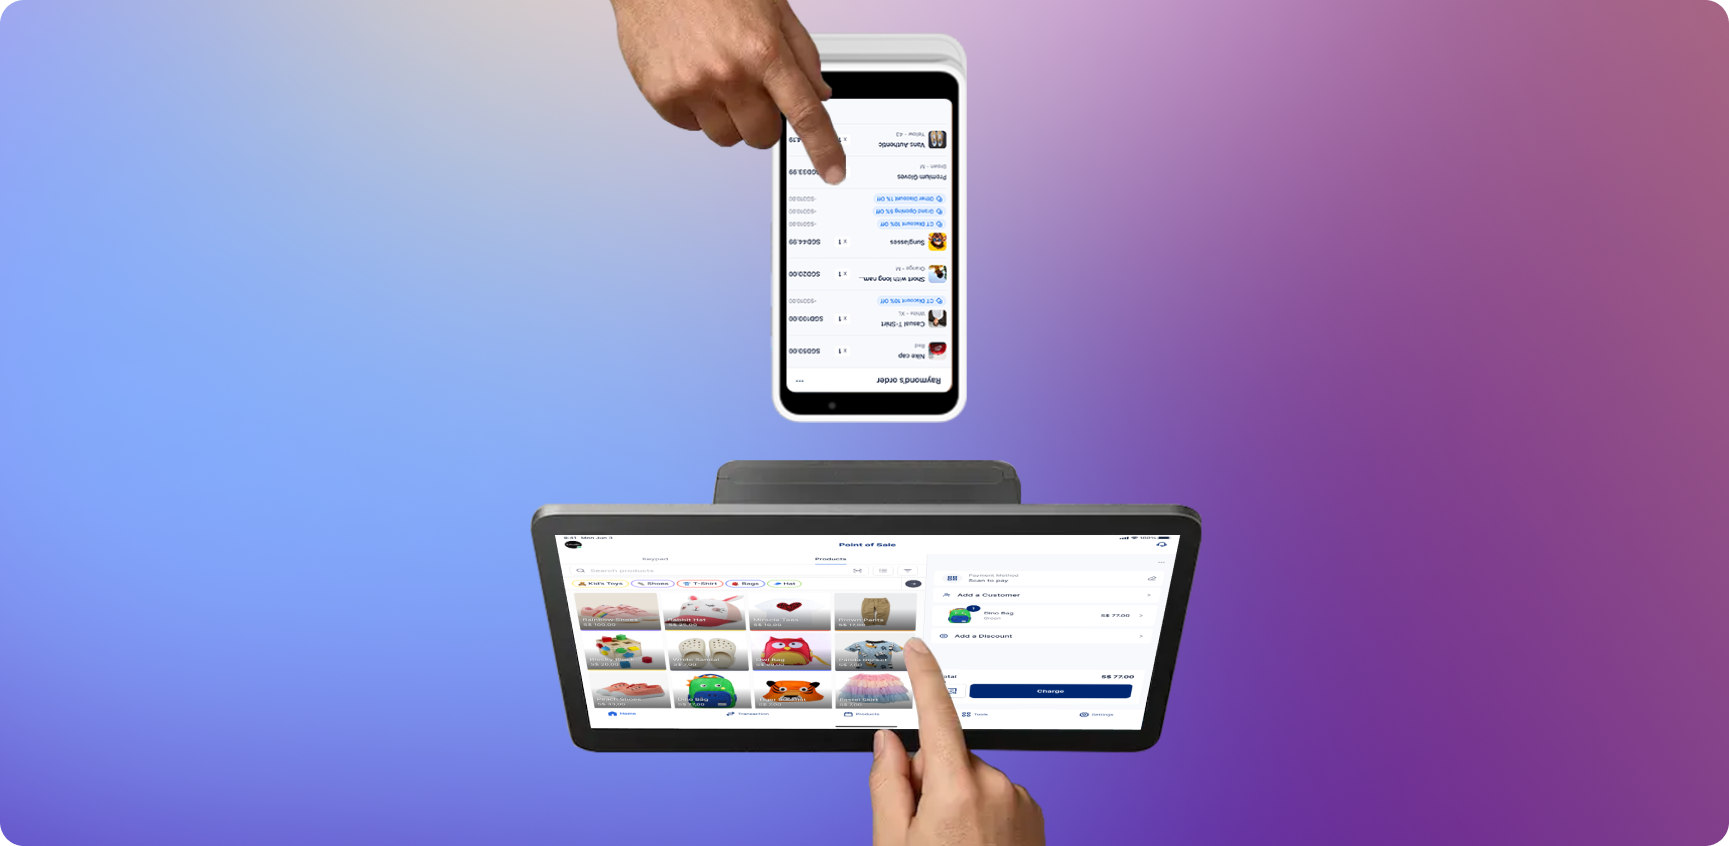
Converting your FlexiPOS to a Reader + Customer Display Setup

- Ensure that your FlexiPOS is in Standalone mode
- In the homepage, click on your profile icon on the top left of the screen
- In the mode selection, select “Customer Display” mode, it will generate a pairing QR code.
- Open the HitPay app from another device and go to Settings > Hardware > Customer Display. Use that device to scan the QR displayed on the FlexiPOS.
- Your FlexiPOS will be converted to a Customer Display which dynamically displays items added onto the cart on your main POS device.
FAQs
What is the process for converting FlexiPOS to Pair with Desktop mode?
What is the process for converting FlexiPOS to Pair with Desktop mode?
To convert the FlexiPOS terminal to “reader” / “pair with desktop” mode, send a WhatsApp message to +65 9864 4718 or write to support@hit-pay.com to request the conversion. Follow the provided instructions for the conversion process.
Can I use FlexiPOS as both a card reader and a standalone terminal?
Can I use FlexiPOS as both a card reader and a standalone terminal?
Yes, you can use FlexiPOS in both “reader” / “pair with desktop” mode and “standalone” terminal mode. To switch between modes, follow the provided instructions for conversion.
Can I connect a Bluetooth printer to my FlexiPOS terminal?
Can I connect a Bluetooth printer to my FlexiPOS terminal?
No, you cannot connect a Bluetooth printer to the FlexiPOS E terminal.
Is there a warranty for Card Readers?
Is there a warranty for Card Readers?
HitPay offers a
one-year warranty on its Terminal Products from the purchase date. If it's faulty within a year and you return it as directed, we may fix, replace, or refund you. This warranty only covers proper use and undamaged items. It's non-transferable. For warranty issues, contact us with the device's serial number and problem description at support@hit-pay.com.How long does the battery last on a FlexiPOS E full charge?
How long does the battery last on a FlexiPOS E full charge?
On a full charge, the FlexiPOS reader lasts about about
8 hours (approximately 600 transactions).