Documentation Index
Fetch the complete documentation index at: https://docs.hitpayapp.com/llms.txt
Use this file to discover all available pages before exploring further.
Account Setup
Before you begin integrating HitPay payments into your Google Forms, you need to set up your HitPay account and ensure some prerequisites are met:- If you haven’t already, create an account on HitPay.
- Ensure that you have the necessary payment methods activated in your HitPay account.
- Make sure the payment methods you want to offer are enabled in your Google Form sales channel.
Google Form Pre-requisites
Through the HitPay plugin on Google Forms, you have the option of charging the customer a dynamic amount based on the responses submitted in the Google Form or a fixed amount per response: Example of a dynamic amount form is here. Example of a fixed amount form is here. In case of a dynamic amount form, please remember to include the $ symbol before the amount as shown in the dynamic amount form above. We currently allow all types of currencies to be collected using Google Forms.Getting Setup
- Install Plugin
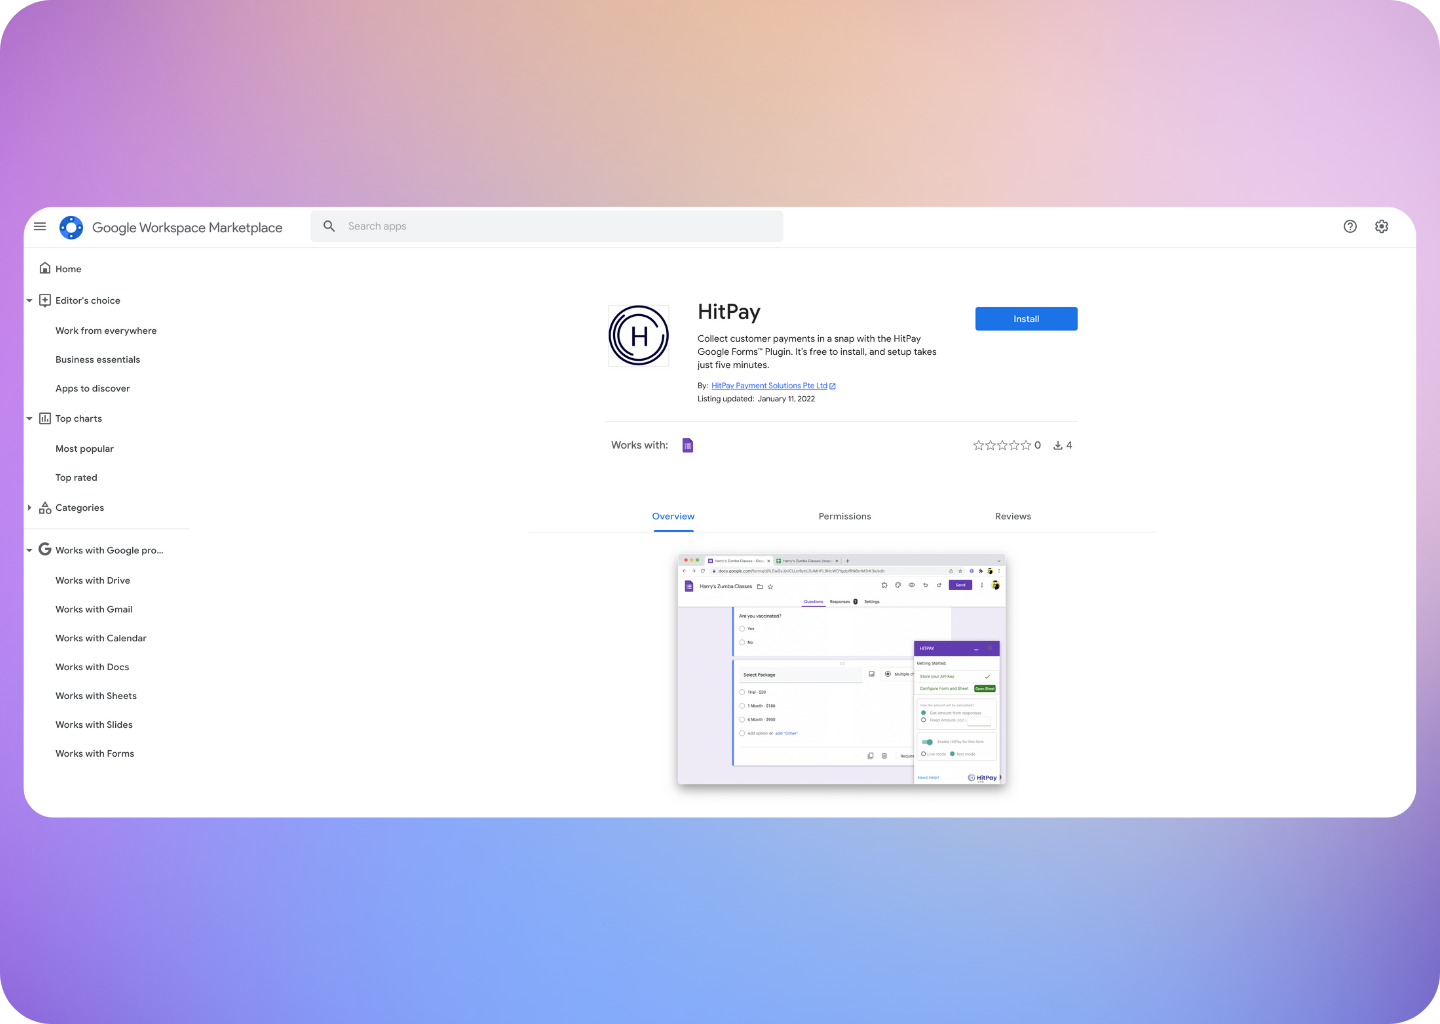
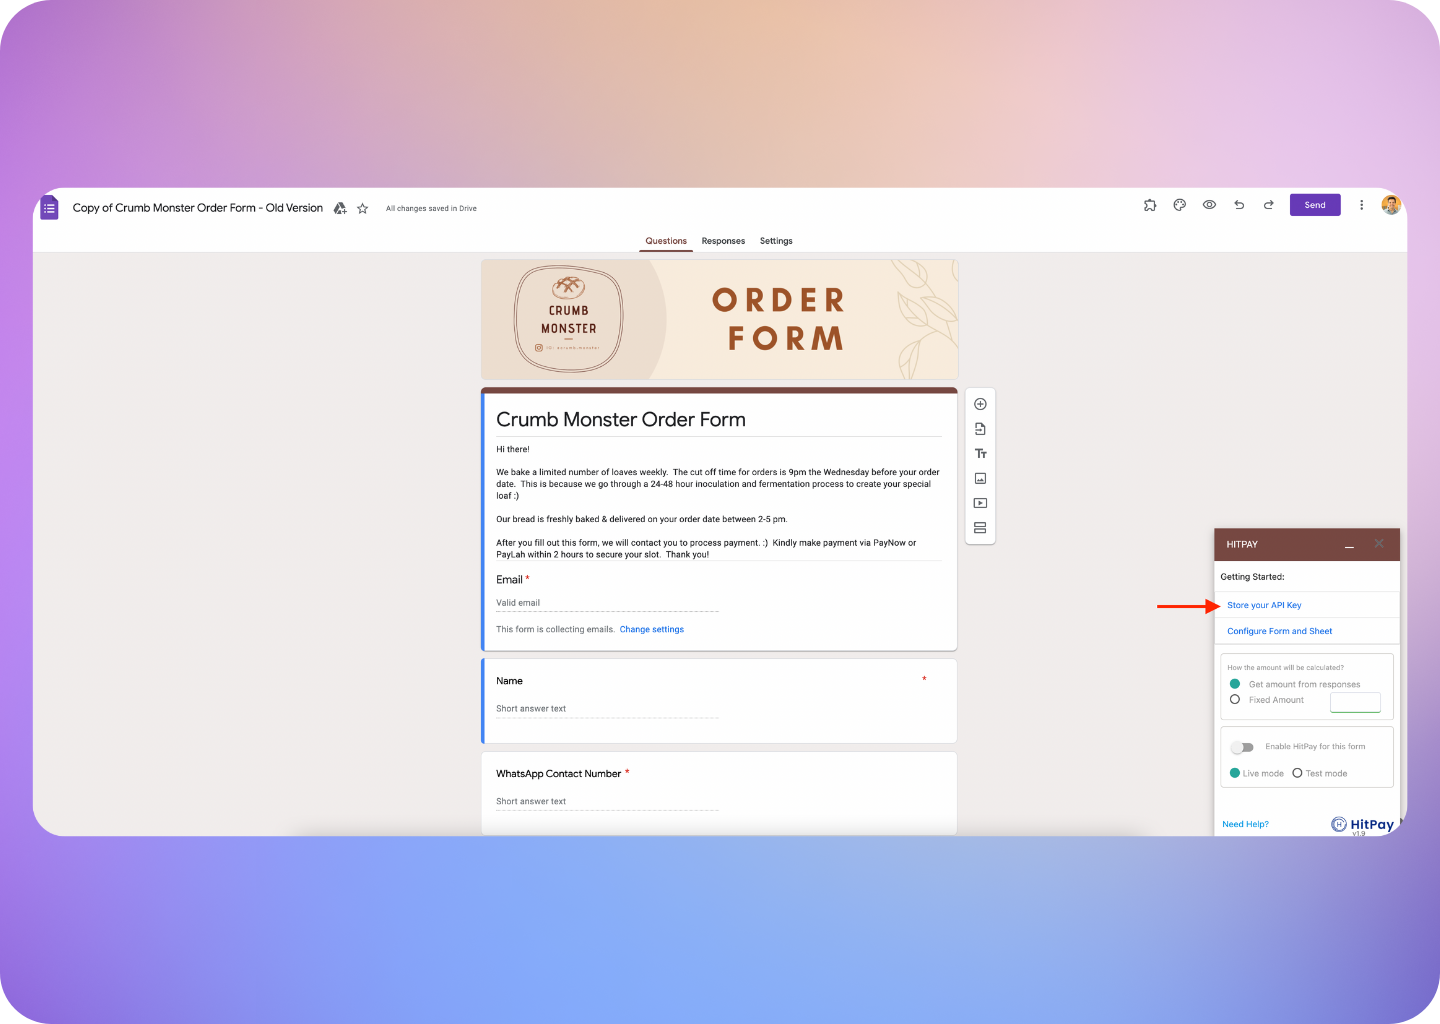
- Upon installing the plugin, navigate to your Google Forms page and click on the plugin logo as shown below:
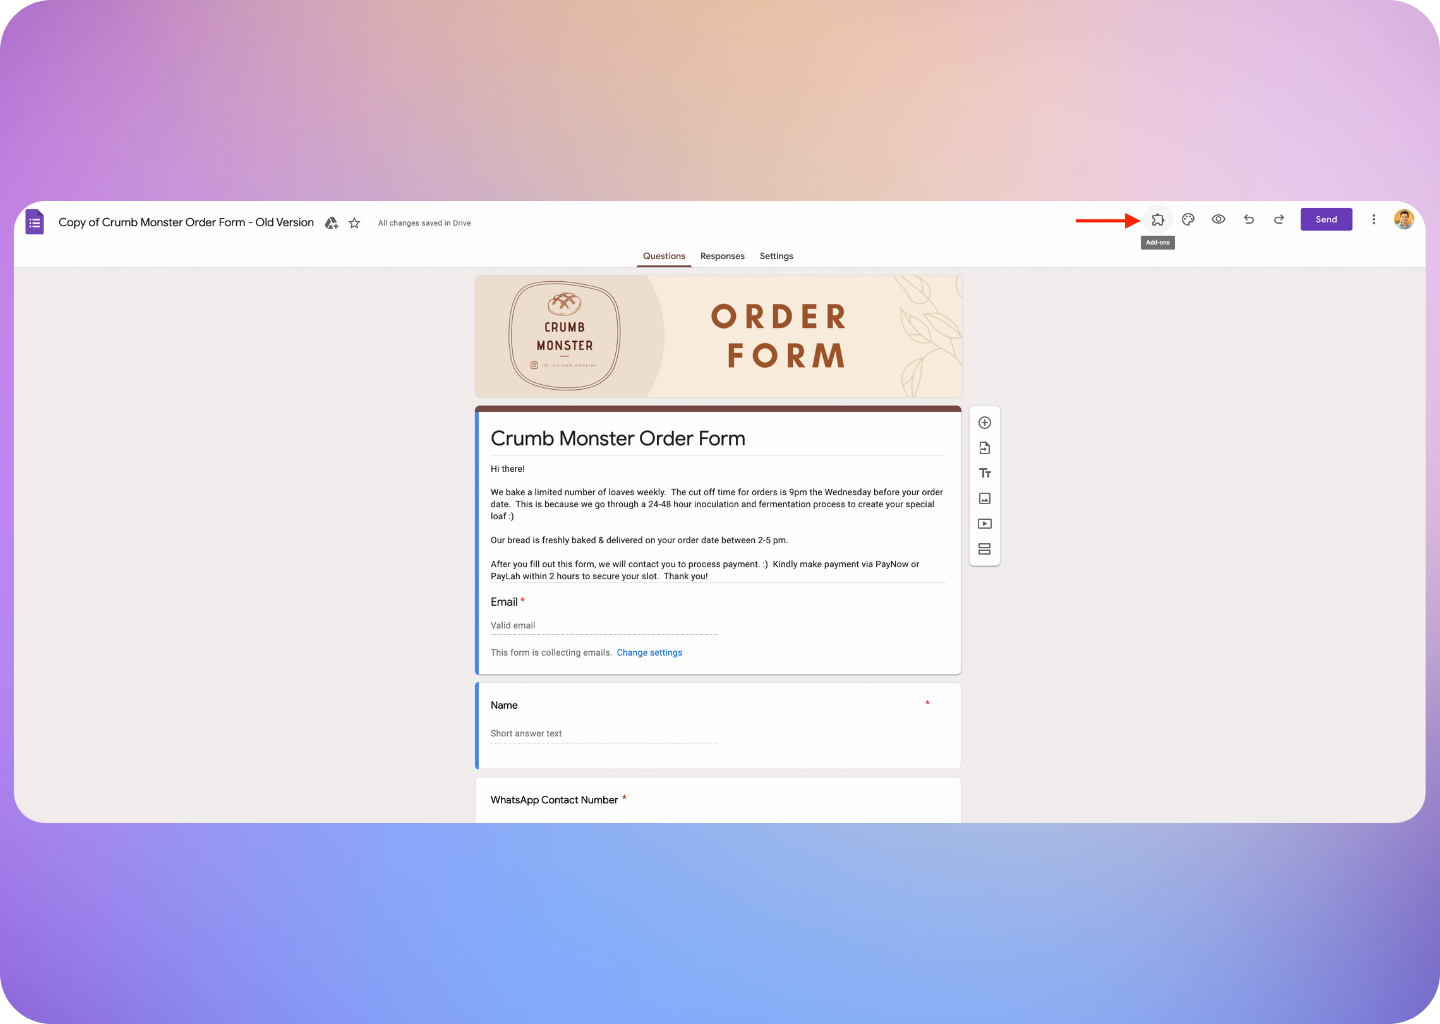
- Click HitPay:
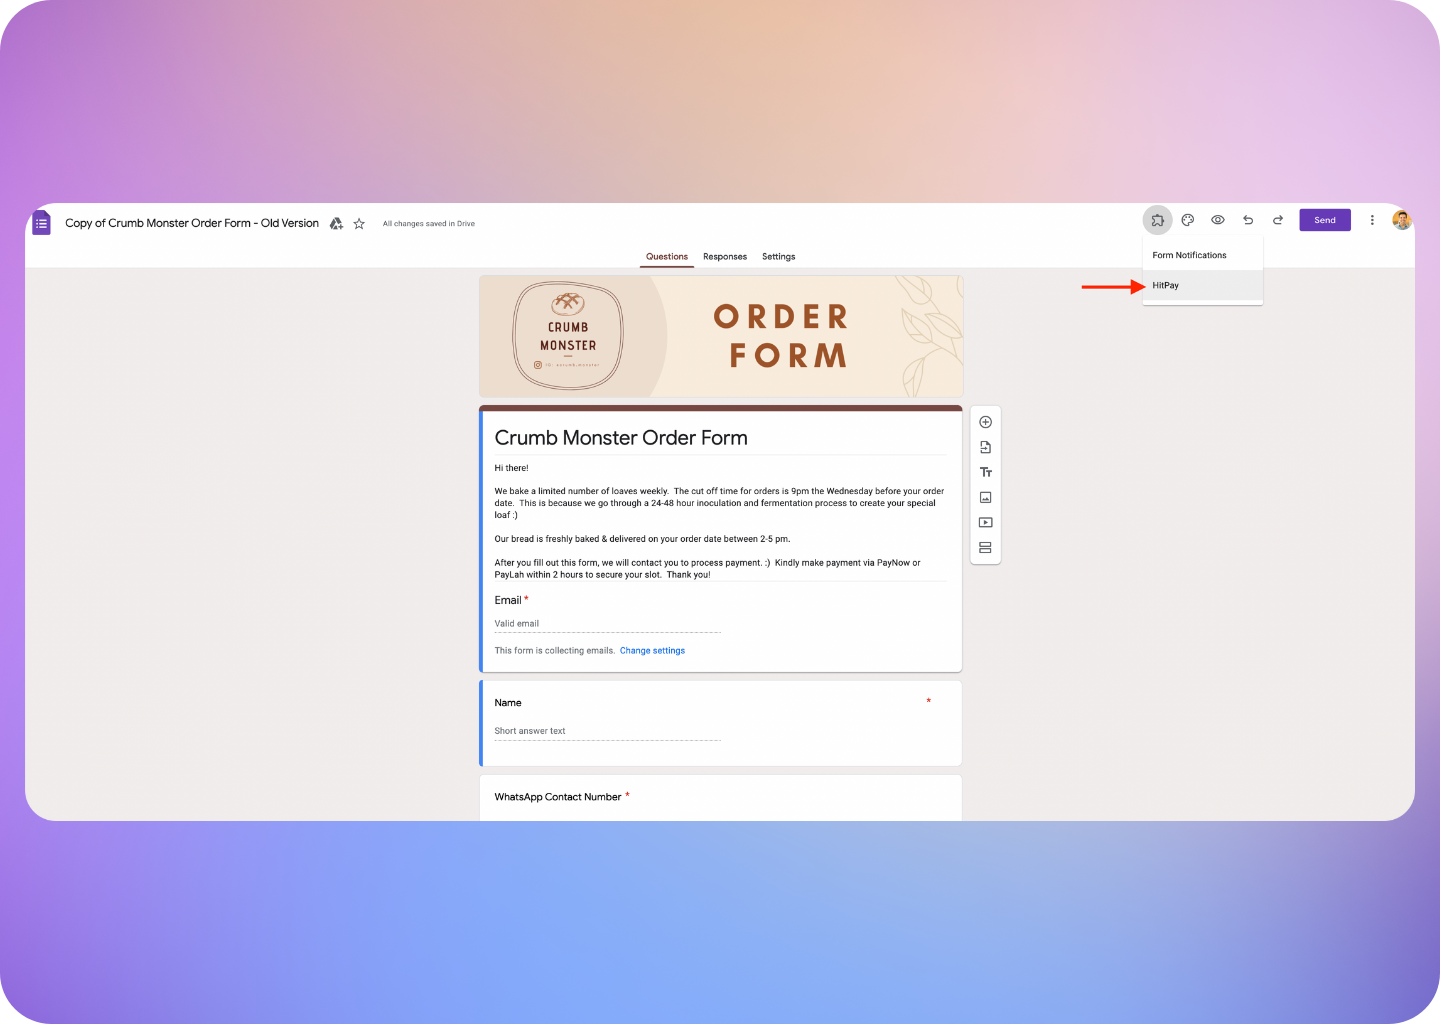
- Click Setup HitPay:
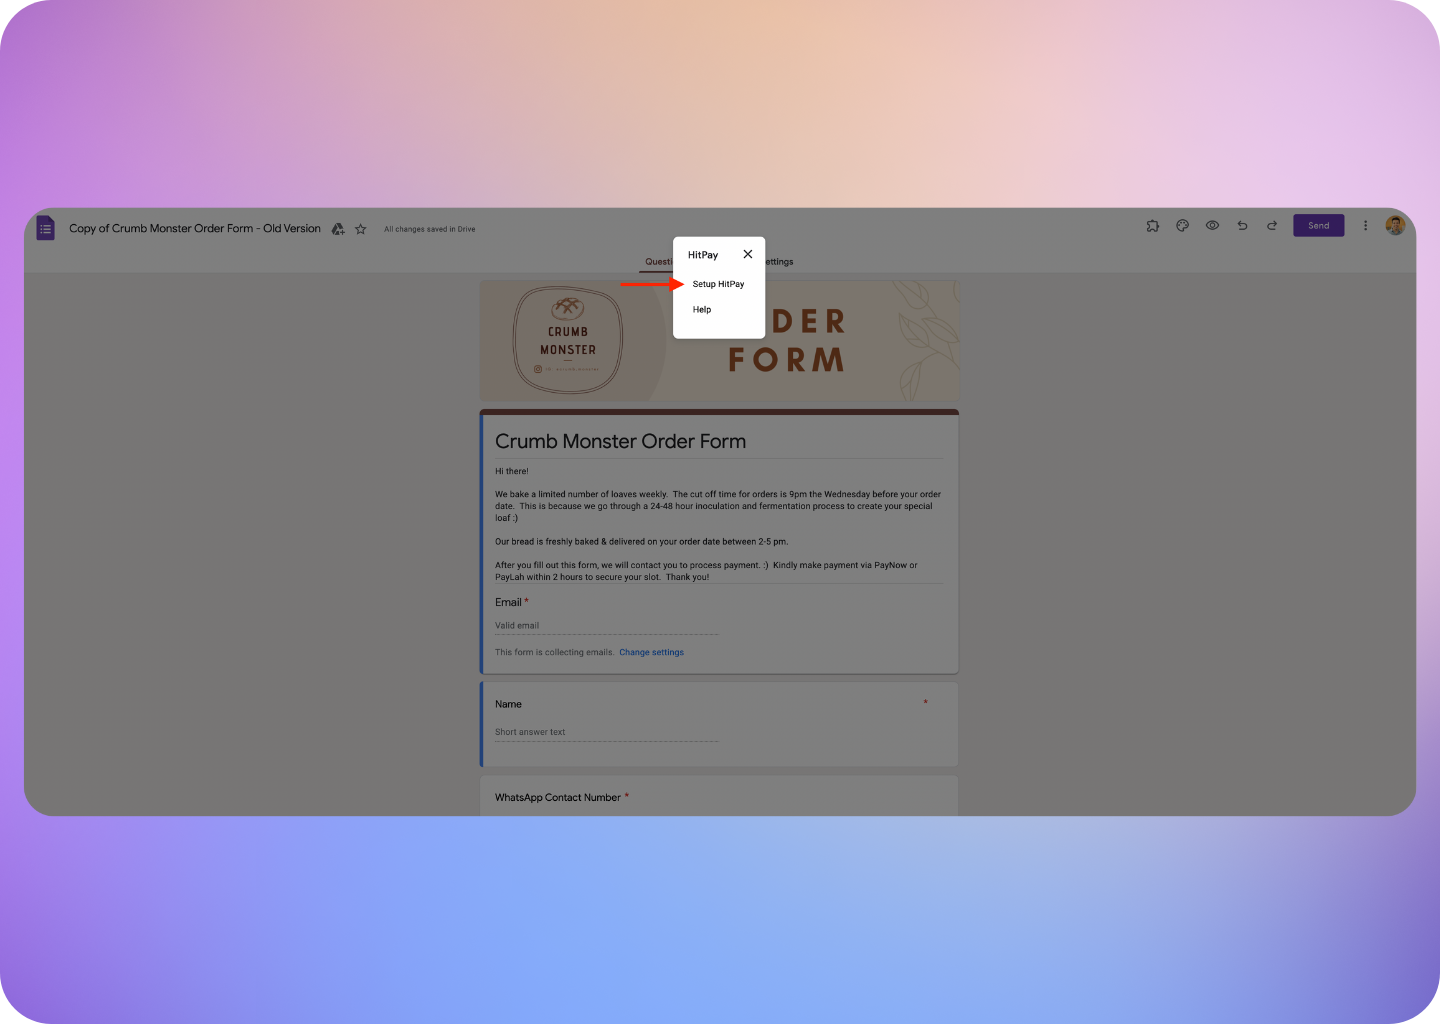
- Click on Store Your API Key:
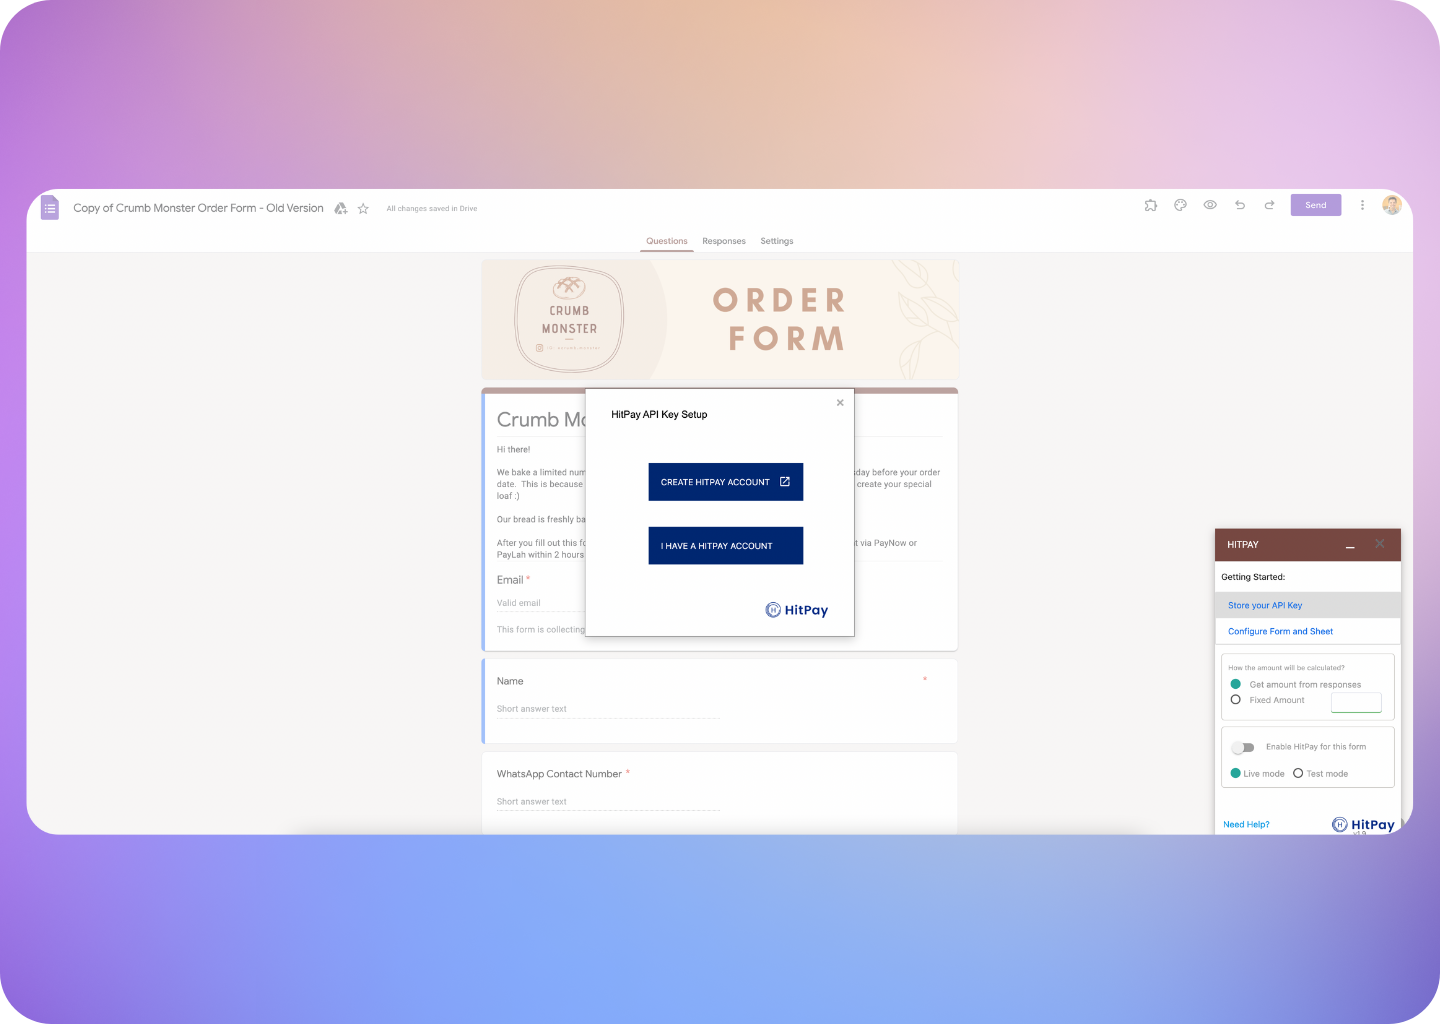
- Select one of the options below.
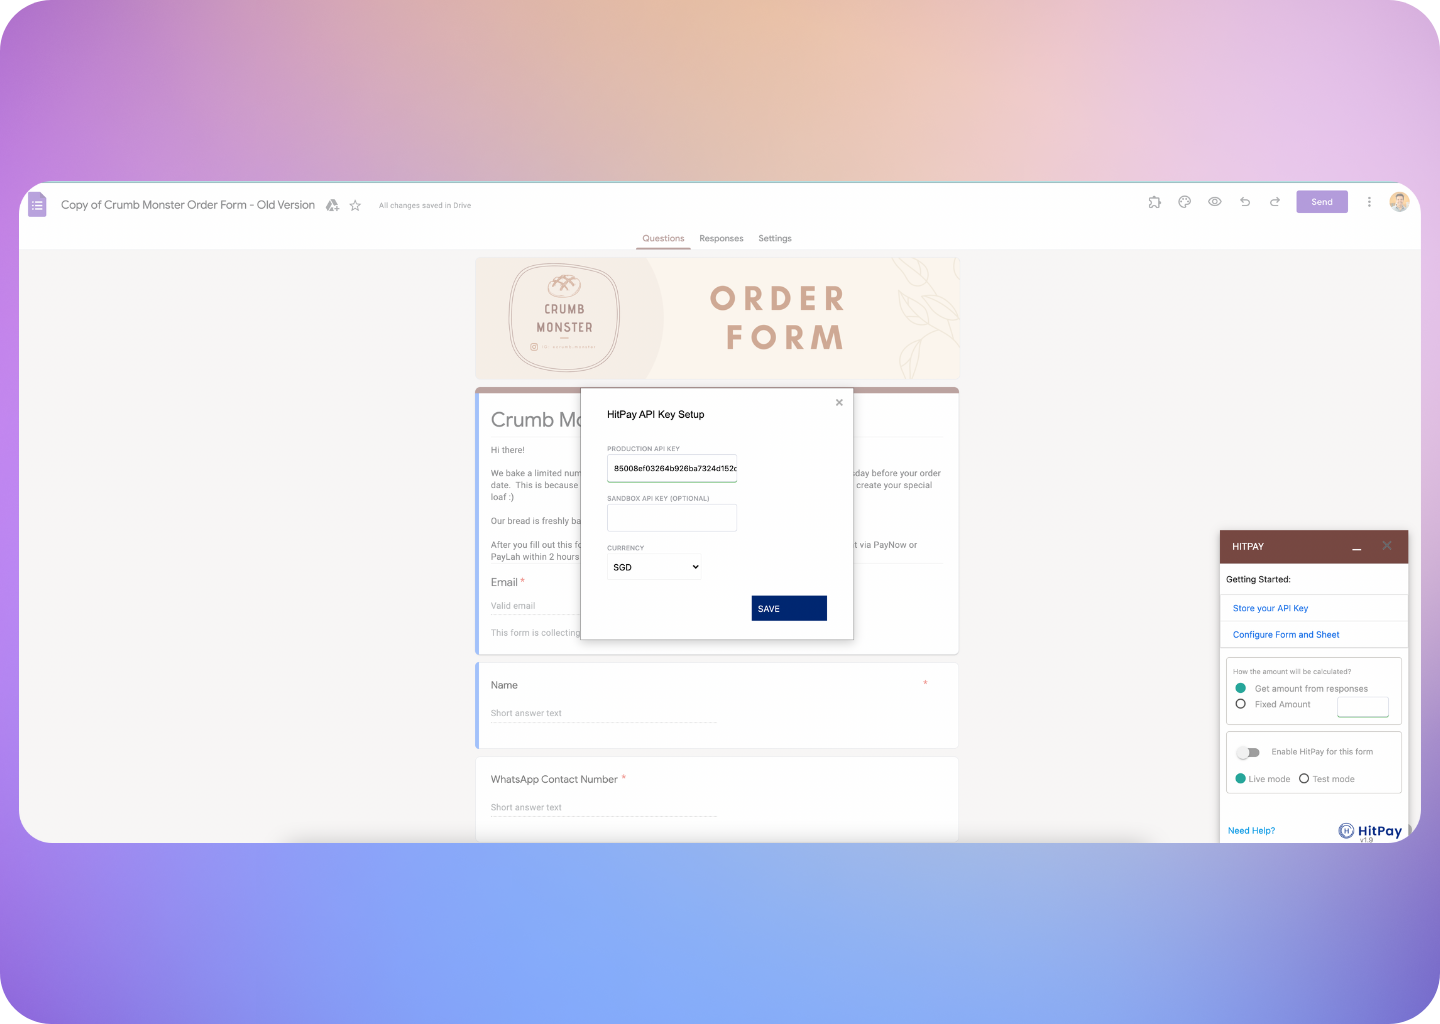
- Copy/Paste the API keys and click Save:
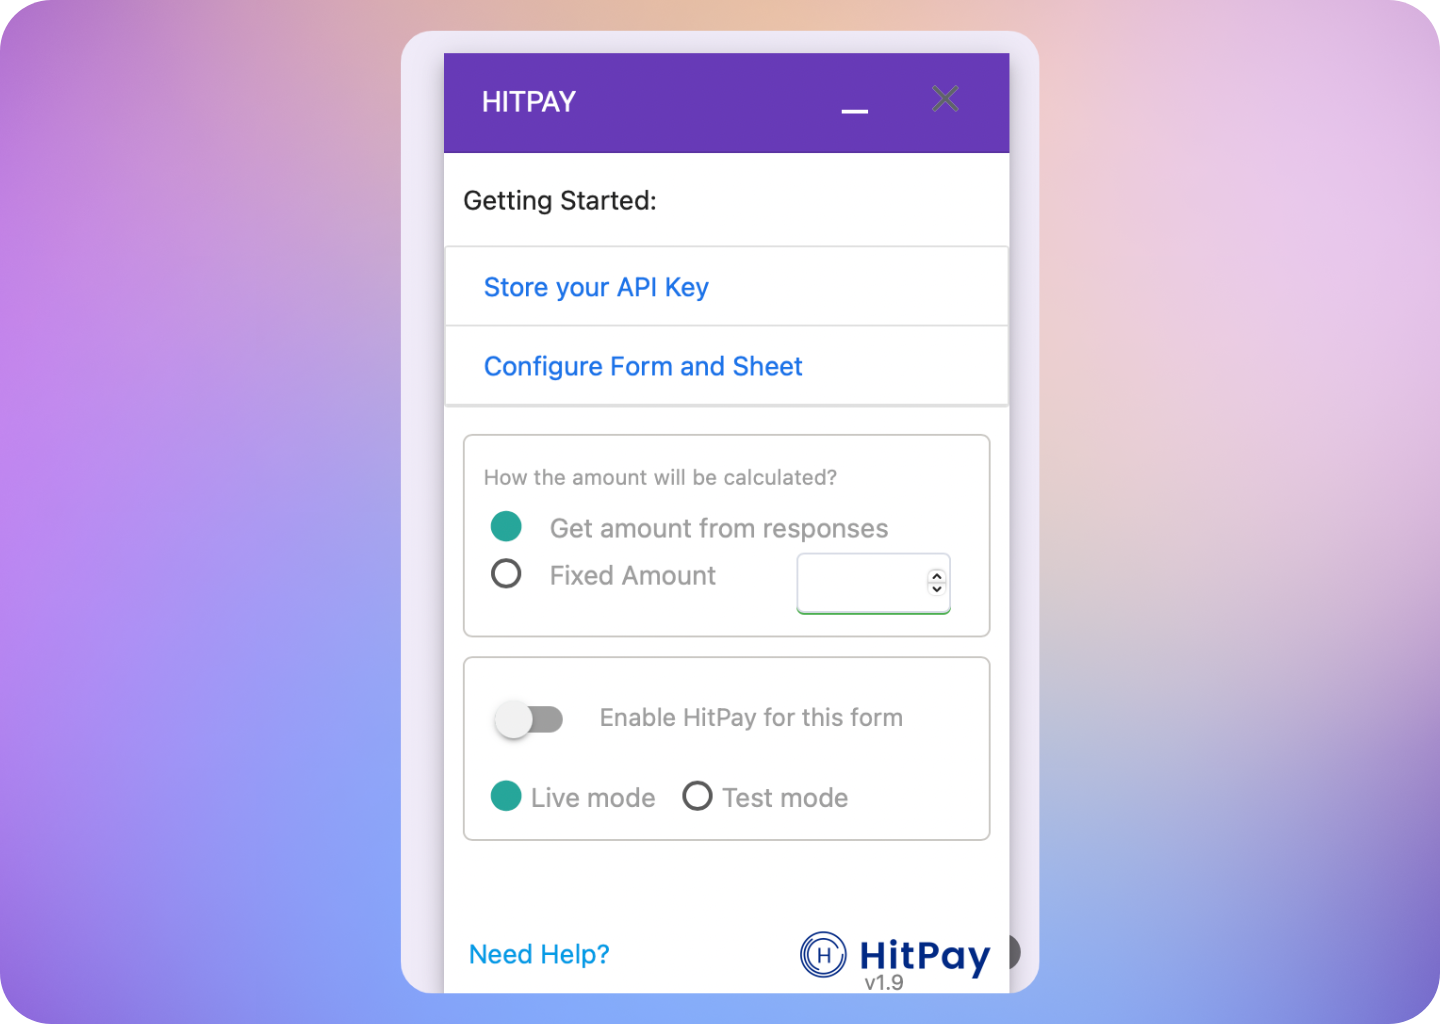
- Under Configure Form and Sheet, select the appropriate options (Get amount from responses or Fixed amount) as applicable in the settings menu as shown below and toggle from left to right to enable HitPay for the Google Form.
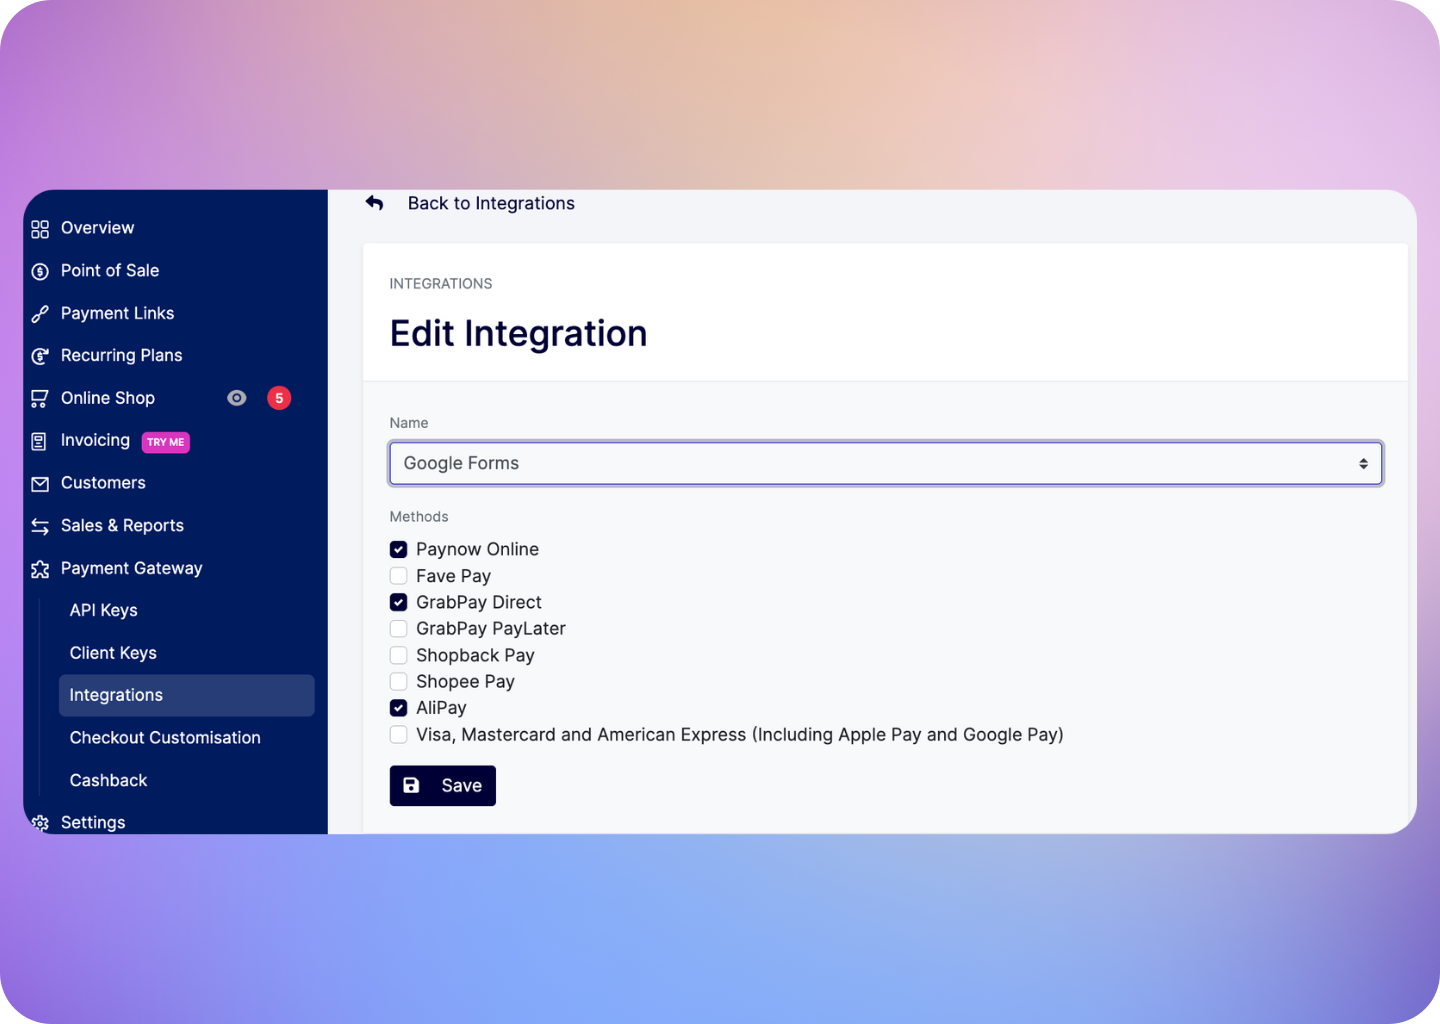
- Enable/disable the payment methods you want to use for the Google form by updating your Integration Settings for Google Forms:
- Click Configure Form and Sheet:
How payment collection works
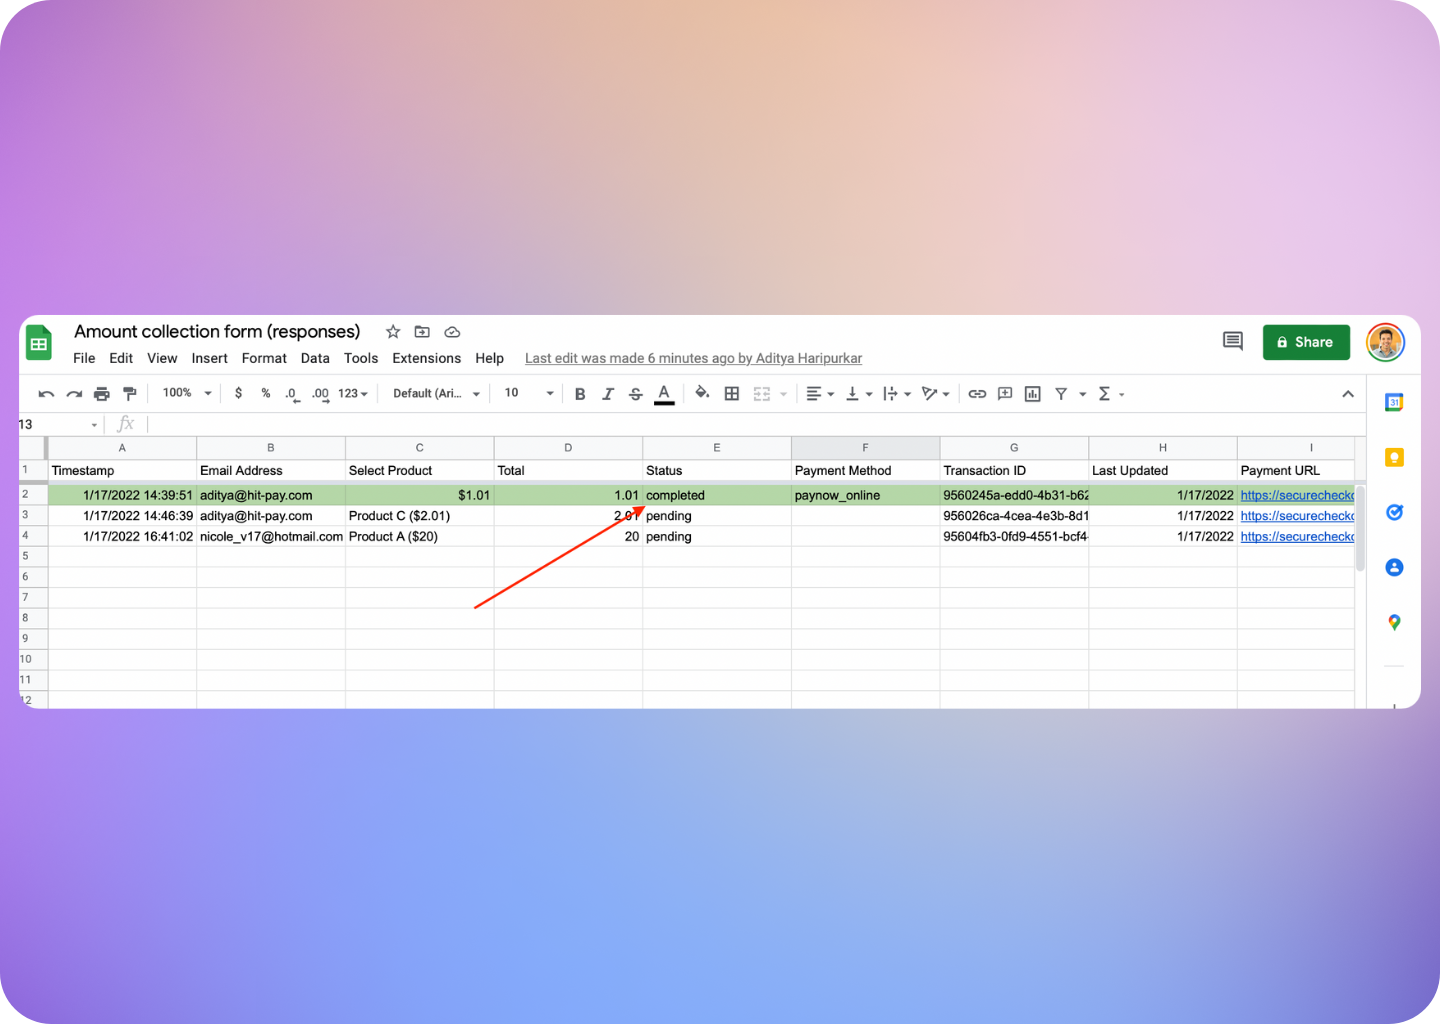
Upon submission of form response, a payment link for the payable amount is sent to the respondent’s email address after submission of the form: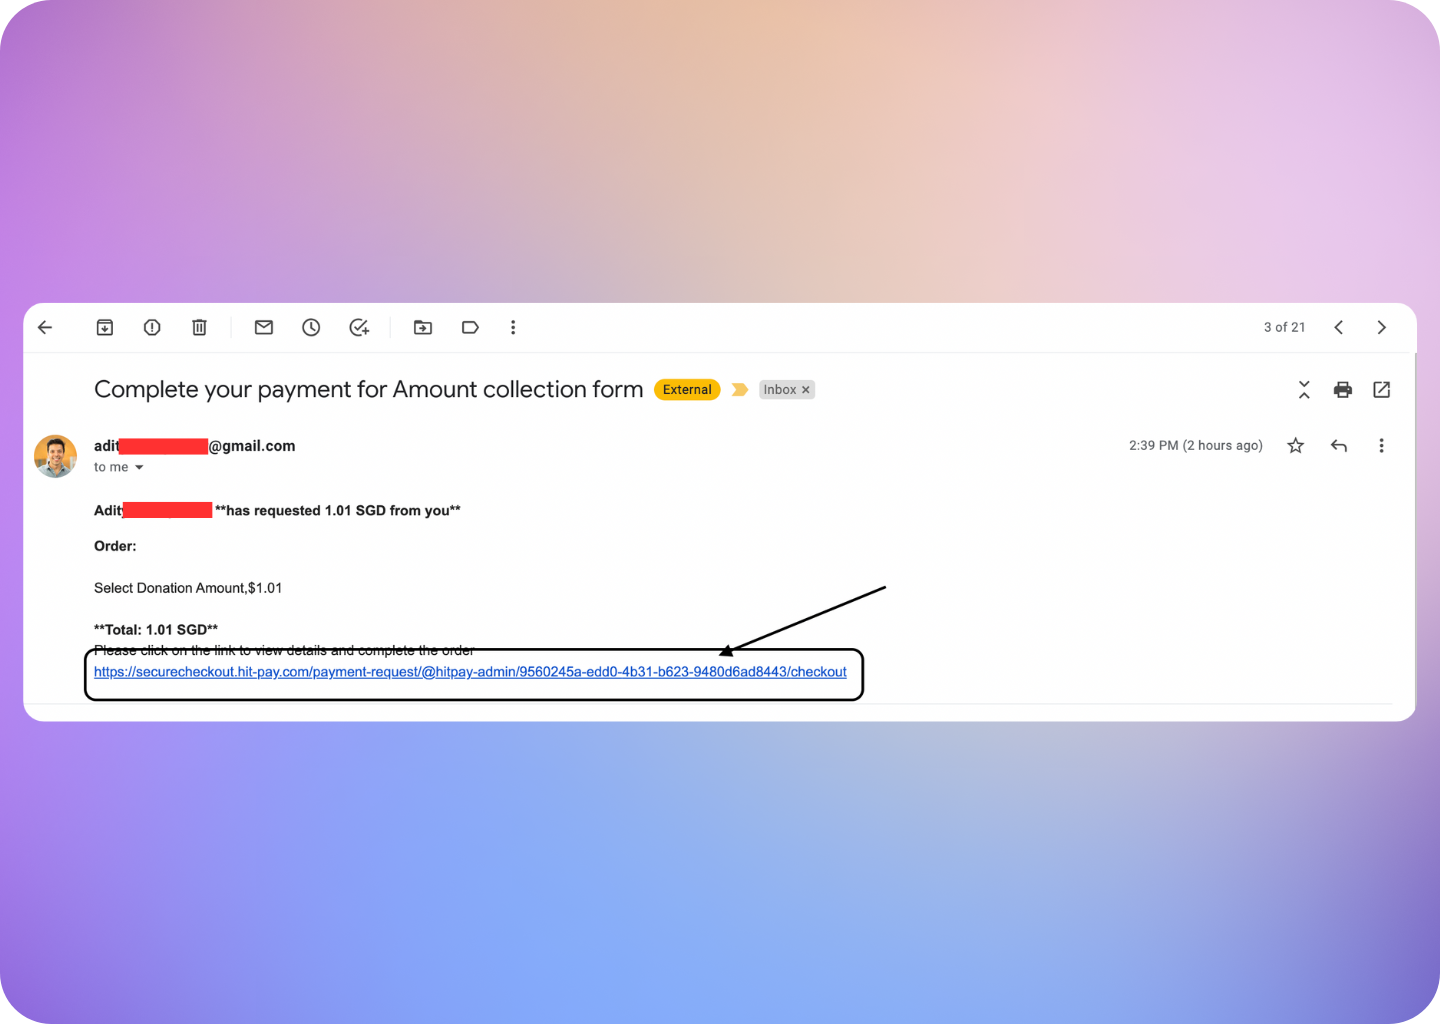
Things to note when creating a google form
- Get amount from responses should be selected if it is a dynamic amount form and Fixed amount should be selected if it is a fixed amount form
- Only use dropdown or multiple choice for payment options if Get amount from Responses is chosen to ensure that the plugin will work
- Ensure to enter the correct currency symbol for your chosen currency